
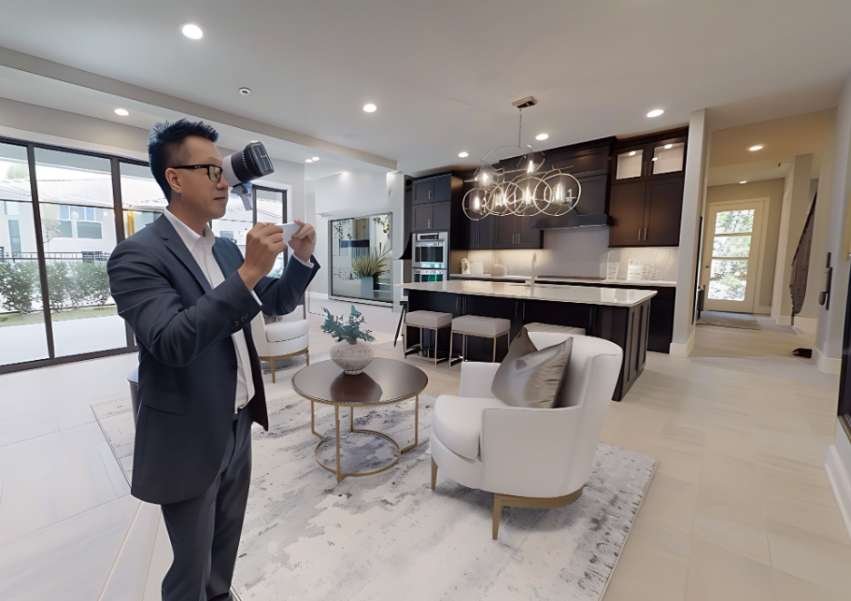
I once watched a beautifully renovated home sit on the market far longer than it should have. The kitchen had marble countertops, the living room had floor-to-ceiling windows, and the backyard looked like something out of a luxury magazine.
But the listing photos made every room feel oddly narrow and uncomfortable. The problem was not the house. It was the way the property had been photographed.
That experience completely changed how I approach property photography. I started paying closer attention to how camera positioning affects emotion, trust, and perceived space. A slight tilt can make walls feel unstable.
Shooting too high can flatten an entire room. The wrong corner angle can make an open-concept layout feel disconnected. Once I understood how strongly composition influences buyer behavior, my photography improved dramatically.
Today, buyers often decide whether a property feels worth touring within seconds of opening a listing gallery. That is why mastering camera positioning, room flow, lighting balance, and real estate photography composition matters more than simply owning expensive gear.
The right approach can make average spaces feel inviting, while poor composition can make luxury homes look surprisingly disappointing online.
Why Camera Angles Matter in Real Estate Photography
Strong property photography is not about tricking buyers. It is about presenting the home naturally while emphasizing space, flow, and architectural detail.
Bad angles instantly create problems. Tilted walls, distorted furniture, or awkward framing can make even beautiful homes feel untrustworthy online. Buyers subconsciously notice when rooms feel visually “off,” even if they cannot explain why.
Good composition creates:
- Better visual depth
- Cleaner room flow
- Stronger natural lighting
- More realistic proportions
- Higher emotional engagement
One thing I learned quickly is that buyers mentally walk through a listing gallery. Every image should guide them naturally through the property.
That is where mastering real estate photography angles becomes incredibly important.
The Ideal Camera Height for Interior Photography
Camera height is one of the biggest differences between amateur and professional real estate photography.
I usually keep my tripod between 3.5 and 4 feet high in general living areas. This height creates balanced visibility between floors, furniture, and ceilings while maintaining natural vertical proportions.
If the camera sits too high:
- Furniture appears compressed
- Rooms lose depth
- Countertops dominate the frame
If the camera sits too low:
- Floors become distracting
- Furniture feels oversized
- Vertical distortion increases
For kitchens and bathrooms, I slightly elevate the camera about 15 to 20 inches above the countertop line so surfaces and finishes remain visible without overwhelming the composition.
In bedrooms, I keep the lens roughly 15 to 20 inches above mattress height to prevent the bed from visually taking over the image.
The biggest rule I always follow is keeping the camera perfectly level. Tilting the camera upward or downward creates crooked vertical lines that immediately make listings look unprofessional.
How to Keep Vertical Lines Straight
One of the fastest ways to improve architectural photography is maintaining perfectly straight walls and doorframes.
I constantly check:
- Window frames
- Cabinet edges
- Wall corners
- Door trim
- Tall furniture lines
If vertical lines lean inward or outward, the room starts looking distorted and unrealistic.
Most professional photographers use:
- Tripod leveling tools
- Grid overlays
- Perspective correction during editing
Straight vertical alignment helps homes feel cleaner, more expensive, and more trustworthy online.
The Best Composition Angles for Real Estate Photography
Different rooms require different composition strategies. I never shoot every room the same way because each space tells a different story.
Corner Angles for Depth
Corner shots remain one of the most effective techniques in property photography because they reveal multiple walls at once while increasing spatial depth.
I typically stand in the farthest usable corner and shoot diagonally across the room. This helps:
- Maximize room width
- Show furniture placement
- Reveal floor space
- Improve visual flow
Living rooms, bedrooms, and open-concept spaces benefit heavily from this technique.
Straight-On Editorial Angles
Straight-on compositions create a premium editorial feel that works especially well in luxury homes.
For these shots, I position the camera parallel to the primary wall and center the frame carefully. Symmetry becomes extremely important here.
These images work beautifully for:
- Fireplaces
- Kitchen islands
- Dining spaces
- Luxury bathrooms
- Built-in shelving
Balanced symmetry often makes listings feel more architecturally refined.
Wide Entry Transition Shots
One technique I rarely see beginners use properly is doorway framing.
Instead of standing deep inside every room, I often photograph from the entryway to showcase how spaces connect together.
This creates:
- Better visual storytelling
- Open-concept flow
- Natural walkthrough sequencing
- Stronger buyer engagement
Wide transition framing helps buyers mentally experience the property before visiting it.
Living Room Photography Angles That Feel Spacious
Living rooms usually act as the emotional center of a listing gallery.
I normally capture two or three angles:
- A symmetrical shot facing the fireplace or focal point
- A wide corner composition
- A transition angle showing connection to nearby rooms
Natural light while taking photos matters heavily here. I try to shoot during the brightest part of the day while balancing exposure carefully to avoid blown-out windows.
I also avoid placing furniture directly in front of windows whenever possible because blocked lighting makes rooms feel visually heavier.
Kitchen Photography Tips That Look High-End
Kitchens often influence buyer decisions more than almost any other room.
I usually combine:
- Straight-on island compositions
- Countertop depth shots
- Structural appliance framing
- Corner-wide layouts
One technique I use frequently is shooting slightly above countertop level. This angle reveals:
- Bar seating
- Stone surfaces
- Appliance finishes
- Cabinet alignment
Luxury kitchens photograph best when vertical lines remain perfectly straight and clutter stays minimal.
Wide-angle lens real estate photography works well here, but I avoid extremely wide focal lengths because they stretch cabinetry unnaturally.
Bedroom Angles That Feel Comfortable and Balanced
Bedrooms should feel calm, breathable, and relaxing.
I almost always shoot from a corner toward the bed placement while leaving visible walking space around furniture.
The best bedroom compositions often include:
- Window lighting
- Closet access
- Ensuite visibility
- Balanced furniture spacing
If the property has a luxury primary suite, I try to create glimpse lines into the bathroom or walk-in closet because it subtly increases perceived value.
Soft natural light works extremely well for bedrooms because it creates warmth without harsh contrast.
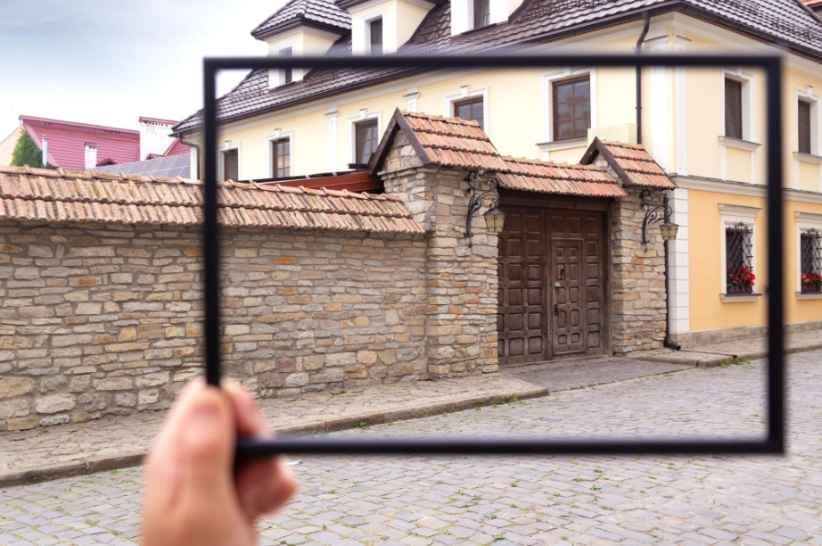
Exterior Photography Angles That Improve Curb Appeal
Exterior photography creates the first emotional impression of the property.
Straight-on front shots sometimes feel flat, so I usually position myself slightly diagonally from the front façade. This creates:
- Architectural depth
- Softer shadow shaping
- Better landscaping visibility
- More dynamic curb appeal
Golden hour lighting can dramatically improve exterior photography because softer sunlight creates warmth and dimension.
For larger homes, drone photography adds context by showcasing:
Many photographers now use real estate photography with drones to capture property scale and neighborhood appeal more effectively.
- Lot size
- Backyard layout
- Waterfront positioning
- Neighborhood surroundings
How Buyer Psychology Impacts Listing Photography
This is where many real estate photography articles stay too shallow.
Photography directly influences buyer emotion.
Bright rooms feel safer. Open layouts feel more luxurious. Straight lines create trust. Smooth visual flow keeps buyers engaged longer.
I always think about how viewers emotionally move through a listing gallery. Every image should encourage them to continue exploring the property.
That emotional response often matters more than camera specifications alone.
Strong real estate photography angles help create that emotional connection naturally.
Smartphone vs DSLR Real Estate Photography

Modern smartphones have improved dramatically for interior photography.
I’ve seen excellent Airbnb listings shot entirely on iPhones using:
- Clean composition
- Proper leveling
- Good natural lighting
- Smart editing apps
However, DSLR and mirrorless cameras still provide:
- Better dynamic range
- Cleaner HDR photography
- Superior low-light detail
- More accurate perspective correction
The good news is that composition matters far more than expensive gear.
Even beginners can create impressive results if they understand lighting, framing, and real estate photography angles correctly.
Common Mistakes That Ruin Property Photos
The most common mistake I see is photographers tilting the camera upward to “fit more” into the image.
This creates:
- Leaning walls
- Distorted cabinets
- Unrealistic room proportions
Other major mistakes include:
- Shooting with clutter visible
- Using ultra-wide distortion
- Ignoring visual flow
- Crooked horizon lines
- Poor lighting balance
Professional real estate photography should always feel clean, natural, and visually trustworthy.
Frequently Asked Questions (FAQs)
1.What is the best camera height for real estate photography?
Most professionals keep the camera around 3.5 to 4 feet high in living areas for balanced room proportions.
2.Should real estate photos be perfectly straight?
Yes. Vertical lines should remain straight because crooked walls and leaning doorframes look unprofessional.
3.What lens works best for property photography?
Most photographers use lenses between 16mm and 24mm because they provide wide coverage without excessive distortion.
4.Is HDR necessary for interior photography?
HDR photography helps balance bright windows and darker interiors, especially in homes with strong natural light.
5.Can smartphones shoot professional real estate photos?
Yes, especially with modern phones and proper composition, lighting, and editing techniques.
Final Thoughts on Creating Better Property Photos
The longer I work in property photography, the more I realize that composition influences buyer perception more than expensive gear ever will.
Great listing photos combine technical precision with emotional storytelling, which is why many experienced photographers prioritize strong composition over constantly upgrading equipment when sharing real estate photography tips with beginners.
Straight vertical lines create trust, balanced framing creates comfort, and thoughtful room flow keeps buyers engaged from the first image to the last.
When you combine proper camera height, natural lighting, clean composition, and intentional visual storytelling, listings instantly feel more premium online.
Whether you shoot luxury homes, starter properties, Airbnb rentals, or commercial spaces, improving your composition strategy can dramatically improve the quality of your work and the way buyers respond to listings.


