
I spent years blaming my camera for flat portraits and dull indoor photos. The real problem was lighting. The moment I understood how photographers shape shadows, soften highlights, and position light sources, my images started looking dramatically more professional without upgrading my gear.
Strong photography lighting techniques can turn a basic setup into a cinematic portrait. They can slim a face, sharpen jawlines, create mood, or completely change the emotional feel of a photo. Once you learn how light behaves, every room, window, and flash becomes a creative tool.
Why Lighting Matters More Than Camera Gear
Most beginners upgrade lenses before learning how light behaves. I made the same mistake. The truth is that light shapes every detail in a photograph far more aggressively than megapixels ever will.
Lighting affects:
- Skin texture
- Mood
- Contrast
- Shadow depth
- Eye detail
- Background separation
Professional photographers often spend thousands on lighting equipment because great lighting can make even modest cameras produce incredible results.
A study referenced by Nikon Learn & Explore also highlights how directional lighting dramatically improves facial dimension and subject separation in portrait photography.
Soft Light vs Hard Light Explained Simply
Soft Light
Soft light creates smooth transitions between highlights and shadows. It usually comes from large or diffused light sources like softboxes, cloudy skies, or window light.
I still rely on soft light for most portraits because it flatters skin naturally without excessive editing.
Soft light works especially well for:
- Headshots
- Family portraits
- Beauty photography
- Lifestyle content
Hard Light
Hard light comes from smaller direct sources like midday sun or bare flash.
This creates:
- Sharp shadows
- High contrast
- Strong texture
- Dramatic mood
Many photographers avoid hard light early on because it feels difficult to control. Once I learned how to position it properly, it became one of my favorite tools for cinematic portraits.
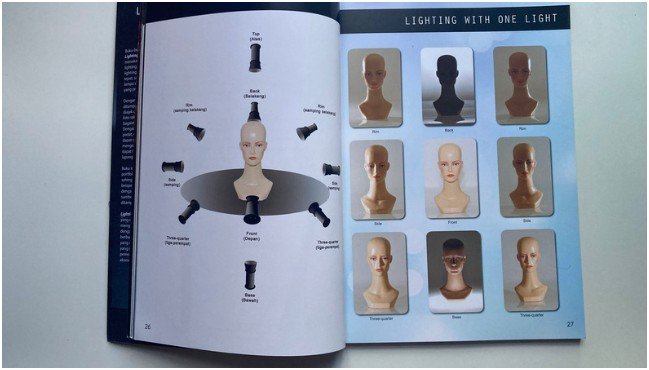
Portrait Lighting Patterns Every Photographer Should Know

Rembrandt Lighting
Named after Rembrandt, this setup creates a small triangle of light on the shadow side of the face.
Place the light around 45 degrees beside the subject and slightly above eye level.
I often use Rembrandt lighting when I want portraits to feel dramatic without looking overly harsh.
Loop Lighting
Loop lighting creates a small curved shadow beside the nose. It remains one of the safest and most flattering setups for almost every face shape.
Most modern corporate headshots use loop lighting because it adds shape while still appearing natural.
Butterfly Lighting
Butterfly lighting places the light directly in front of and slightly above the subject.
The shadow beneath the nose resembles a butterfly shape. This setup became iconic during classic Hollywood beauty photography because it highlights cheekbones beautifully.
Split Lighting
Split lighting divides the face evenly between light and shadow.
This works especially well for:
- Musicians
- Athletes
- Editorial portraits
- Black-and-white photography
I use split lighting whenever I want a portrait to feel intense or cinematic.
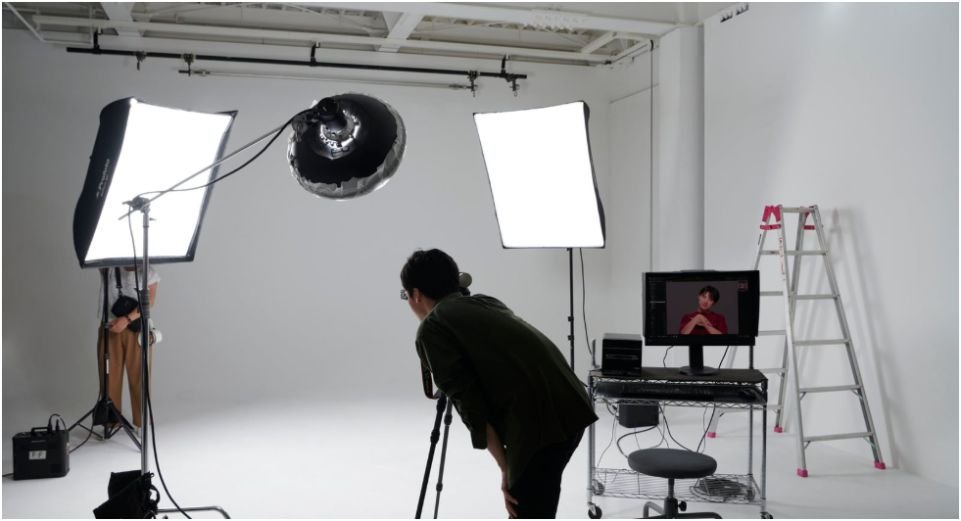
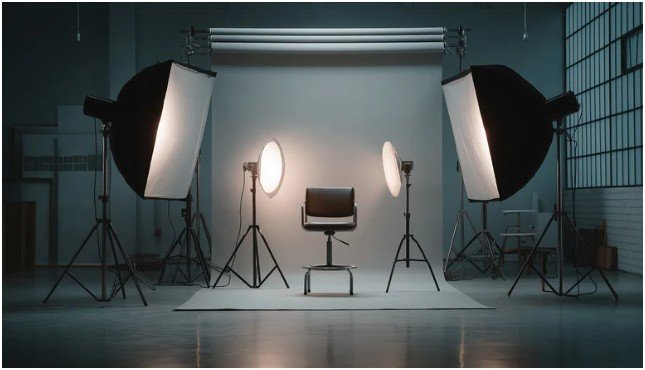
Studio Lighting Setups That Create Professional Results
Three-Point Lighting
Three-point lighting remains one of the most reliable professional setups because it balances shadows cleanly while separating the subject from the background.
The setup includes:
- A key light
- A fill light
- A back light
The key light shapes the face. The fill light softens shadows. The back light creates rim separation around the subject.
This setup works beautifully for interviews, studio portraits, and video production.
Clamshell Lighting
Clamshell lighting uses one light above the face and another reflector or light below.
Beauty photographers love this setup because it smooths skin texture while maintaining soft facial definition.
I still use clamshell lighting for close-up portraits because it creates clean catchlights and polished skin tones quickly.
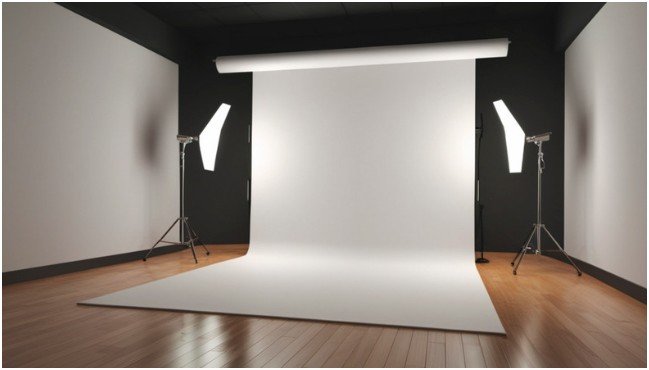
The Best Light Modifiers for Softer Portraits
Light modifiers completely changed my photography because they allowed me to control softness and spill more precisely.
Octaboxes
An octabox creates soft, natural-looking light with round eye catchlights.
This modifier remains my favorite for headshots because the lighting feels soft without becoming flat.
Softboxes
Softboxes provide stronger directional control than umbrellas. They prevent excessive light spill and help create cleaner studio setups.
Rectangle softboxes are excellent for mimicking window light indoors.
Umbrellas
Shoot-through umbrellas are inexpensive and beginner-friendly. They spread light widely and create soft illumination quickly.
Reflective umbrellas create slightly more contrast while still maintaining softness.
Beauty Dishes
Beauty dishes create structured softness. Fashion photographers use them heavily because they preserve facial detail while still flattering skin.
This modifier produces what many photographers describe as “creamy contrast.”
Natural Light Photography Tips I Still Use
Natural light remains one of the best lighting tools available because it creates realistic depth and color naturally.
Window Light Works Better Than Most Ceiling Lights
I almost never use overhead room lights during portraits anymore. Window light produces softer shadows and more natural skin tones.
North-facing windows usually provide the most consistent soft light throughout the day.
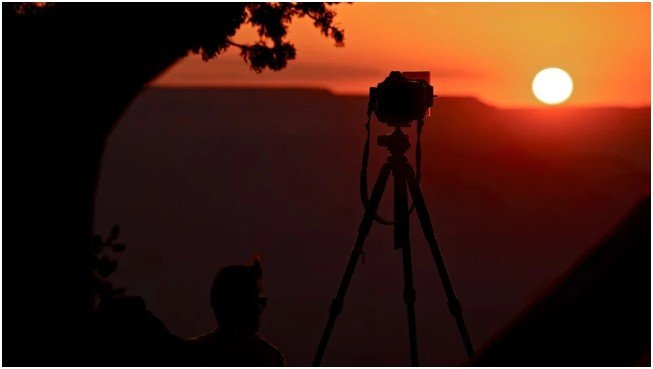
Golden Hour Still Beats Most Studio Setups
The hour after sunrise and before sunset creates lower contrast and warmer tones.
This lighting naturally flatters skin and creates cinematic atmosphere without expensive gear.
Backlighting Adds Instant Atmosphere
Positioning the sun behind the subject creates glow and separation.
I often slightly overexpose these portraits to create a softer editorial look.
Common Lighting Mistakes Beginners Make
The biggest beginner mistake is adding more lights instead of improving light placement.
Another major issue is placing lights too far away. A closer light source appears larger relative to the subject, which creates softer shadows.
I also see many photographers using direct flash without diffusion. Even a simple umbrella dramatically improves portrait quality.
Quick Reference Table
| Lighting Technique | Best Use | Mood Created |
| Rembrandt Lighting | Dramatic portraits | Cinematic |
| Loop Lighting | Professional headshots | Natural |
| Butterfly Lighting | Beauty photography | Glamorous |
| Split Lighting | Editorial portraits | Intense |
| Clamshell Lighting | Makeup & close-ups | Clean & polished |
| Backlighting | Outdoor portraits | Dreamy |
FAQs About Photography Lighting Techniques
1. What is the easiest lighting setup for beginners?
Loop lighting is usually the easiest setup because it works well on most face shapes and requires minimal adjustment.
2. Which light modifier is best for portraits?
An octabox produces flattering soft light and natural eye catchlights, making it ideal for portraits.
3. Is natural light better than artificial light?
Natural light can look beautiful, but studio lighting offers more control and consistency.
4. Why do professional portraits look softer?
Professional photographers often use large diffused light sources that soften shadows and reduce harsh skin texture.
5. What is the difference between soft light and hard light?
Soft light creates gentle transitions between shadows, while hard light creates sharp contrast and stronger definition.
Stop Blaming Your Camera Already
The biggest improvement in my photography happened when I stopped obsessing over gear and started studying light placement instead. One properly positioned soft light can outperform an expensive camera shooting under terrible lighting conditions.
The next time your photos feel flat, do not change the lens first. Move the light. That single adjustment often changes the entire image.


