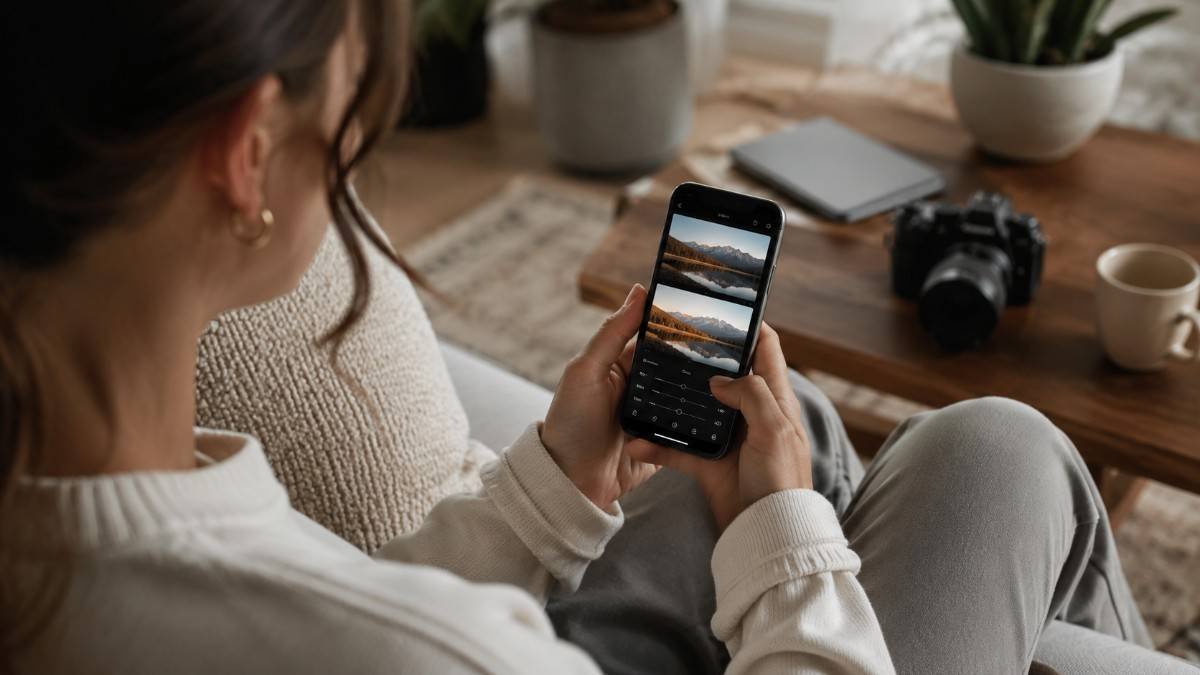
Scrolling through perfectly edited Instagram photos used to make mobile photography feel intimidating. Learning how to edit photos on iPhone completely changed the way ordinary pictures looked online. With a few simple adjustments inside the iPhone Photos app, photos started looking brighter, cleaner, and far more professional. Modern iPhones already include powerful editing tools, which means creating aesthetic images no longer requires expensive software or advanced photography skills.
Key Takeaways
- The iPhone Photos app already includes powerful editing tools for beginners.
- Small lighting and color adjustments create more natural edits than heavy filters.
- Following one editing workflow improves consistency and photo quality faster.
- Features like copy and paste edits help maintain a cohesive Instagram aesthetic.
- Good lighting and balanced composition still matter before editing begins.
iPhone Photo Editing Is Easy
Editing transforms simple photos into polished content that feels more engaging and visually professional. Whether creating travel photography, fashion content, lifestyle posts, or social media images, editing improves mood, storytelling, and color balance naturally.
Modern iPhone cameras already capture impressive detail, but raw images often need small corrections to reflect how scenes looked in real life. Bright skies may appear washed out while darker areas lose detail. Editing helps restore that balance without making photos look fake.
Consistent editing also helps creators build a recognizable online aesthetic. Many influencers and photographers use similar tones, color palettes, and lighting styles across Instagram, Pinterest, TikTok, and blogs to strengthen personal branding.
Understanding The iPhone Photos App
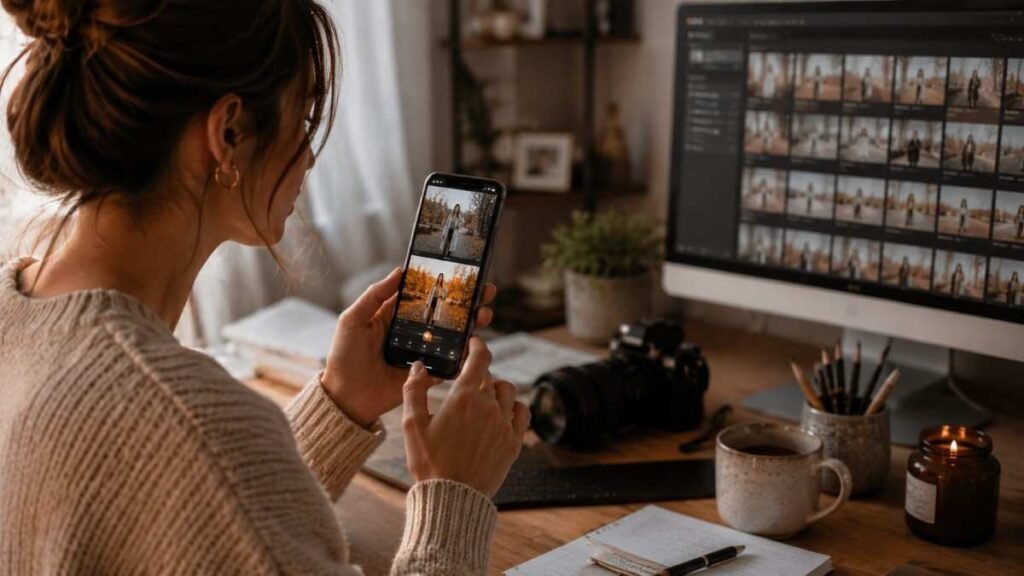
The built-in Photos app includes advanced editing tools that many users never fully explore. Learning these tools is the first step in understanding how to edit photos on iPhone effectively.
Auto Adjustments
The Auto feature, represented by the magic wand icon, automatically balances lighting, contrast, and colors using Apple’s optimization system. It works well for quick improvements and beginner-friendly edits.
Auto adjustments are best used as a starting point rather than a final edit. Manual adjustments afterward usually create more polished and personalized results.
Editing Sliders
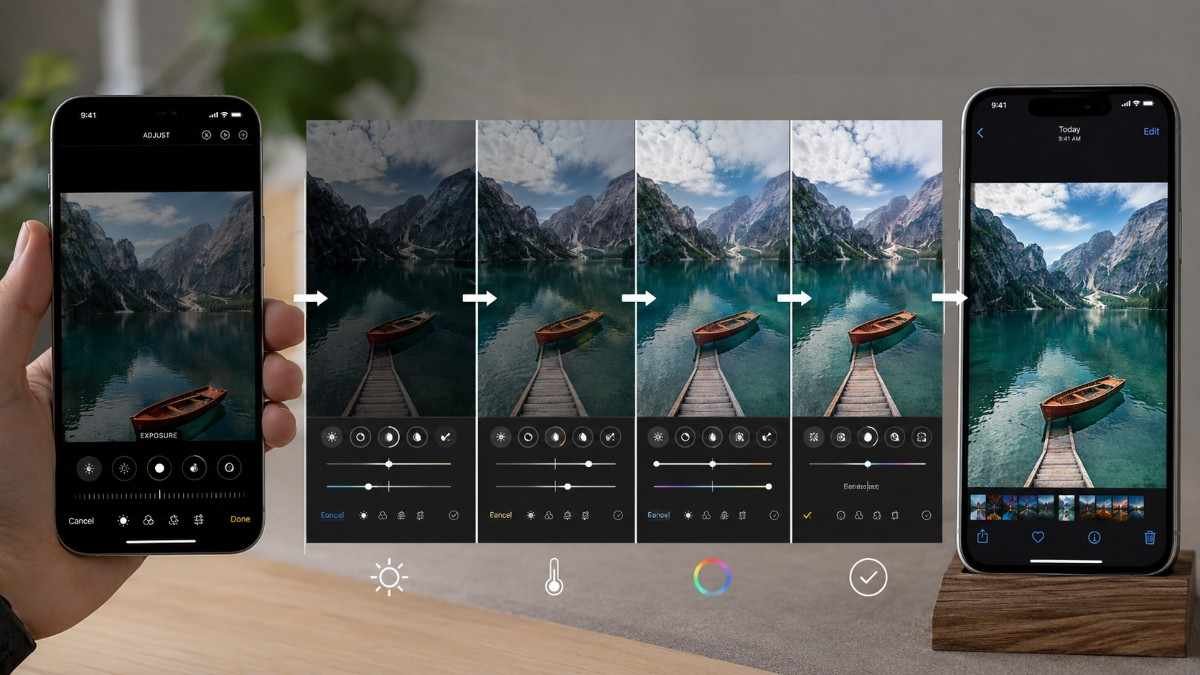
The adjustment sliders control exposure, brilliance, highlights, shadows, contrast, brightness, saturation, vibrance, and warmth. These tools form the foundation of mobile photo editing.
Exposure controls overall brightness while highlights and shadows recover detail in bright or dark areas. Even small changes to these sliders can dramatically improve image quality.
Filters And Presets
The Photos app includes filters like Vivid, Dramatic, Noir, and Mono that quickly change the overall mood of a photo. Filters can be useful for fast edits and experimenting with aesthetics.
However, relying too heavily on filters often creates unrealistic results. Subtle manual adjustments usually produce cleaner and more timeless edits.
How To Edit Photos On iPhone Step By Step
Following a consistent workflow makes learning how to edit photos on iPhone much easier. Structured editing prevents photos from looking overprocessed while improving overall image quality.
- Start by opening the Photos app and selecting the image you want to edit. Tap Edit in the top-right corner to access all editing tools. Begin by cropping and straightening the image because composition changes affect the overall balance of the photo.
- The rule of thirds works especially well for portraits, travel photos, and lifestyle content. Positioning subjects slightly off-center often creates more visually appealing compositions.
- Next, adjust exposure carefully. Increase brightness slightly if the image feels dark, but avoid overexposing highlights. Lowering highlights helps recover sky details while raising shadows reveals detail in darker areas naturally.
- After balancing lighting, move to brilliance and contrast adjustments. Brilliance enhances texture and depth while contrast creates separation between bright and dark areas. Moderate adjustments create cleaner and more professional-looking results.
- Now refine the color settings. Increase vibrance instead of saturation whenever possible because vibrance boosts muted colors while protecting skin tones from looking unnatural. Adjust warmth slightly if the image feels too cold or yellow.
- Finally, sharpen the image gently and add definition only if needed. Small sharpening adjustments improve clothing textures, architecture, and hair details without creating harsh grain. Once satisfied, tap Done to save the edit. The Photos app keeps edits reversible, allowing changes to be modified later anytime.
Best Features For Better iPhone Edits
The Photos app also includes several hidden features that improve editing speed and visual consistency.
Crop And Rotate Tools
The crop tool allows users to resize photos, straighten horizons, and choose preset aspect ratios optimized for Instagram posts, Pinterest pins, or wallpapers.
Straightening images instantly makes photos feel cleaner and more professional. Cropping also removes distractions and improves focus on the main subject.
Cleanup Tool
Newer iPhone models include a Cleanup feature that removes unwanted objects from photos. Users can brush over background clutter, random people, or distracting objects to create cleaner compositions.
This feature is especially useful for travel photography, product photography, and lifestyle content creation.
Markup Features
The Markup tool allows users to add text, shapes, arrows, and signatures directly onto photos. Many creators use this feature for tutorials, Pinterest graphics, and educational social media content. Simple annotations can improve engagement while making content more informative visually.
Pro Tips For Editing Like A Creator
Strong editing is not only about brightness and filters. It is about creating mood, storytelling, and visual consistency across every image.
Copy And Paste Edits
One of the most useful iPhone editing features is the ability to copy and paste edits between photos. After editing an image, tap the three-dot menu and choose Copy Edits.
Open another image, tap the same menu, and select Paste Edits. This saves time while maintaining a cohesive Instagram or photography aesthetic.
Revert Changes Anytime
Many beginners avoid experimenting because they fear ruining photos permanently. Thankfully, iPhone edits remain fully reversible even after saving. Open the edited image, tap Edit, then select Revert to restore the original photo instantly.
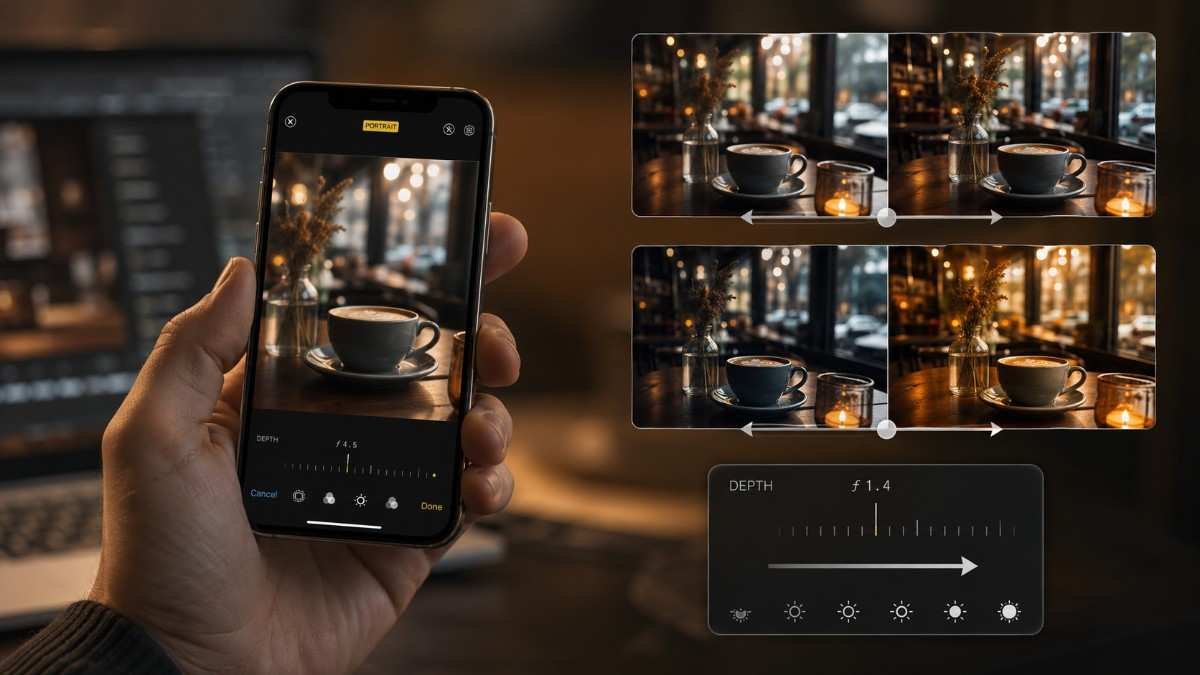
Edit Portrait Mode Photos
Portrait Mode photos allow users to adjust background blur intensity and studio lighting effects after the image is captured. This feature helps create professional-looking portraits directly from an iPhone without needing advanced camera equipment.
Common Mistakes To Avoid
Learning how to edit photos on iPhone also means understanding common beginner mistakes that reduce image quality.
Overediting Skin
Excessive smoothing and heavy filters often make portraits look unrealistic. Natural skin texture creates more authentic and visually appealing images. Subtle lighting corrections usually improve portraits more effectively than aggressive retouching.
Oversaturating Colors
Too much saturation destroys realism and detail. Vibrance adjustments create richer colors while maintaining balanced textures and natural skin tones. Clean edits almost always perform better visually over time.
Ignoring Lighting Before Editing
Editing works best when the original image already has decent lighting. Natural daylight remains one of the best tools for capturing cleaner and more editable iPhone photos. Good lighting reduces the need for aggressive editing later.
Frequently Asked Questions
1. What is the best app for how to edit photos on iPhone?
The iPhone Photos app works perfectly for beginners, while Lightroom Mobile and Snapseed offer more advanced editing features.
2. Can beginners learn how to edit photos on iPhone easily?
Yes, the built-in editing tools are beginner friendly and easy to understand with regular practice.
3. Are iPhone photo edits reversible?
Yes, edits remain fully reversible inside the Photos app using the Revert option.
4. Do influencers edit photos on iPhone?
Many influencers and creators edit directly on iPhone using Lightroom Mobile, VSCO, Snapseed, and the Photos app.
Your iPhone Photos Are Ready To Shine
Learning how to edit photos on iPhone becomes much easier once simple workflows replace complicated tutorials and random filters. Great editing is not about changing photos completely. It is about improving light, balancing color, refining composition, and creating mood naturally. With regular practice and thoughtful adjustments, even everyday iPhone photos can look polished, aesthetic, and content creator worthy.


