

I stopped obsessing over “perfect” edits once I realized cinematic photography editing has very little to do with perfection. The photos that felt cinematic always carried emotion first. They looked like scenes pulled from a film instead of polished social media uploads.
That shift completely changed how I edit. I started focusing on atmosphere, controlled lighting, softer contrast, and color depth instead of ultra-sharp details. My photos instantly felt more professional without expensive equipment or complicated effects.
Most cinematic edits fail because they push effects too hard. Oversaturated teal shadows, fake HDR contrast, and heavy grain usually destroy realism within seconds.
The best cinematic edits feel subtle. They guide your eyes naturally and create a mood without screaming for attention.
Why Most Cinematic Edits Look Fake
I see the same issue constantly across Instagram and YouTube tutorials. People assume cinematic editing means adding orange skin tones and dark blue shadows to every image.
Real movie stills rarely look that extreme.
Professional colorists preserve detail inside shadows, soften highlights, and carefully control where your eyes land. That balance creates depth.
I learned this while editing rainy street portraits during a downtown night shoot. My first edits looked aggressively blue and overly sharpened. Once I reduced saturation and softened the blacks using the Tone Curve, the images suddenly looked far more cinematic.
Small adjustments usually create the strongest results.
My Cinematic Photography Editing Workflow

Everything starts with the original photo. Editing cannot fully rescue flat lighting or weak composition.
I look for scenes with directional light, shadows, reflections, fog, practical lights, or environmental atmosphere. Neon signs, golden-hour sunlight, and moody indoor lighting work especially well.
Inside Adobe Lightroom, I usually begin by lowering the exposure slightly. A darker foundation immediately creates more mood.
Then I crop the image into a wider aspect ratio. I prefer 16:9 for modern cinematic framing and 2.35:1 when I want a dramatic anamorphic look.
The Tone Curve becomes the most important part of the process. I lift the black point slightly upward to create a matte film texture. Then I built a soft S-curve for controlled contrast.
That faded shadow detail removes the harsh digital look many cameras produce.
After that, I move into color grading.
Instead of aggressively pushing teal and orange, I apply subtle cool tones into shadows and gentle warmth into highlights. Skin tones stay realistic while the image gains depth.
I also reduce clarity slightly because cinematic images rarely look razor sharp. Modern digital cameras can feel too clinical without softening.
Finally, I add a small amount of grain and a light vignette to guide attention toward the subject.
The Lightroom Settings I Actually Use
These settings create the foundation for most of my cinematic edits.
| Setting | Typical Range | Purpose |
| Exposure | -0.20 to -0.60 | Creates atmosphere |
| Highlights | -50 to -80 | Protects bright areas |
| Shadows | +20 to +50 | Keeps dark detail visible |
| Clarity | -10 to -20 | Softens digital sharpness |
| Grain | 15–25 | Adds film texture |
| Vignette | -10 to -20 | Focuses viewer attention |
| Shadow Hue | 200–220 | Adds cool cinematic depth |
| Highlight Hue | 40–60 | Warms skin tones |
These numbers change depending on the scene. Cinematic editing is more about balance than exact values.
How to Save These Settings as a Preset
Once I find a cinematic look I love, I save it as a reusable preset. That keeps my editing style consistent across an entire shoot.
Inside Lightroom Classic, I open the Presets panel and click the plus icon to create a new preset.
I always save:
- Tone Curve
- Color Grading
- Effects
- HSL adjustments
I usually avoid saving exposure and white balance because every photo needs different lighting adjustments.
This becomes especially important for photographers searching how to save these settings as a Preset without ruining future edits.
In Adobe Lightroom Mobile, the process works almost the same way. I open the three-dot menu, tap Create Preset, name the look, and save the selected adjustments.
Keeping presets organized into folders saves a huge amount of time later.
Mistakes That Ruin Cinematic Edits
The fastest way to ruin cinematic editing is overprocessing the image.
Too much sharpening instantly makes photos feel artificial. Heavy dehaze effects create ugly edges around light sources. Extreme teal shadows make skin look unnatural.
I also see many beginners crush blacks completely. Real cinematic grading usually preserves shadow detail instead of turning everything pure black.
Another common problem is stacking too many effects together. Grain, glow, clarity, HDR, vignettes, and split toning can quickly become overwhelming.
The strongest edits usually feel restrained.
The Apps and Gear That Help Most
Most of my cinematic workflow happens inside Adobe Lightroom because the Tone Curve and masking tools are incredibly powerful.
For more advanced work, I use Adobe Photoshop to shape light and remove distractions.
On mobile, Snapseed and VSCO still produce surprisingly cinematic results.
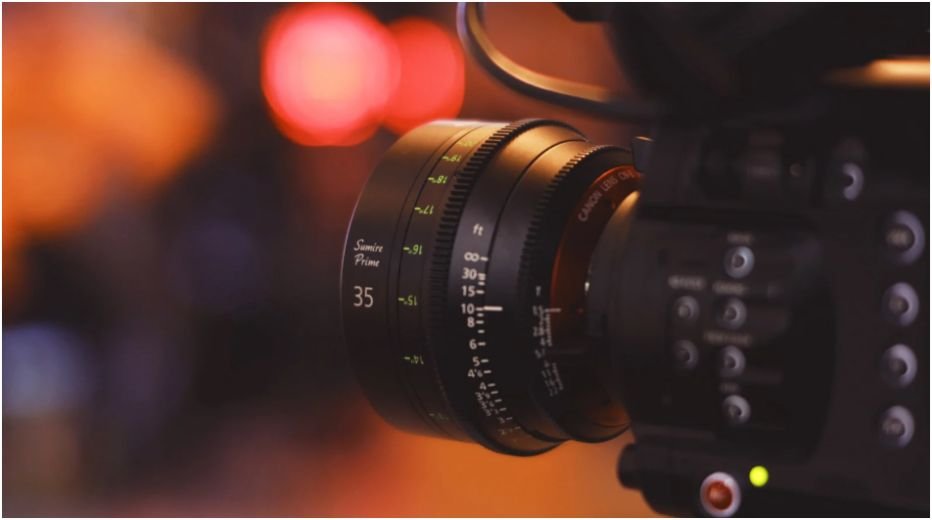
Lens choice also matters more than people realize. I use 35mm and 50mm lenses most often because they create natural depth without distortion.
If you enjoy creating stylized commercial shots too, DIY product photography works well alongside cinematic lighting techniques.
Why Storytelling Beats Heavy Color Grading
The best cinematic images always feel like part of a larger story.
A technically perfect image can still feel empty. Meanwhile, a slightly imperfect photo with strong emotion often becomes unforgettable.
Some of my favorite cinematic photos contain motion blur, imperfect lighting, or subtle grain. Those imperfections create atmosphere.
That is what separates cinematic photography from trendy editing styles.
The goal is not to show viewers your editing skills. The goal is to make them feel something.
FAQs
1. What is cinematic photography editing?
Cinematic photography editing uses film-inspired color grading, matte contrast, controlled lighting, and widescreen framing to create movie-like images.
2. Which app is best for cinematic editing?
Adobe Lightroom remains the best overall option because of its advanced color grading and masking tools.
3. How do I make photos look cinematic in Lightroom?
Lower highlights, soften blacks with the Tone Curve, apply subtle teal and orange grading, crop wider, and add light grain.
4. Can cinematic photography editing work on phones?
Yes. Adobe Lightroom Mobile, Snapseed, and VSCO all work well for cinematic mobile editing.
5. How much grain should cinematic edits use?
Most cinematic edits look best between 15 and 25 grain amount. Too much grain creates digital noise instead of film texture.
Your Photos Don’t Need More Filters
The strongest cinematic edits rarely rely on extreme effects. They rely on mood, lighting, pacing, and emotional depth.
That realization completely changed how I edit photos. I stopped chasing trendy presets and started shaping atmosphere instead.
Next time you edit a photo, resist the urge to oversharpen or oversaturate it. Focus on how the image feels first. The cinematic look usually appears when you simplify the frame and let the story breathe.


