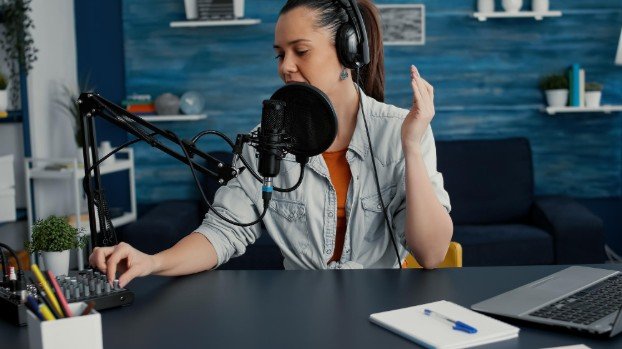

I still remember recording my first narration using a cheap headset microphone and wondering why my voice sounded thin, distant, and full of background noise. The moment I switched to a proper USB microphone, everything changed. My voiceovers immediately sounded cleaner, fuller, and far more professional without needing complicated audio gear.
A great USB microphone can completely transform narration quality for YouTube videos, audiobooks, podcasts, tutorials, and online courses. The biggest advantage is simplicity. You can connect directly to your computer and start recording within minutes while still achieving rich vocal clarity that feels polished and natural.
Why USB Microphones Work So Well for Voice Recording
USB microphones have improved dramatically over the last few years. Many now deliver audio quality that rivals entry-level XLR setups while avoiding the need for mixers, interfaces, or expensive accessories.
For voice work, clarity matters more than flashy features. A microphone should capture warmth, reduce harsh frequencies, and minimize room echo. That combination creates a smoother listening experience that keeps audiences engaged longer.
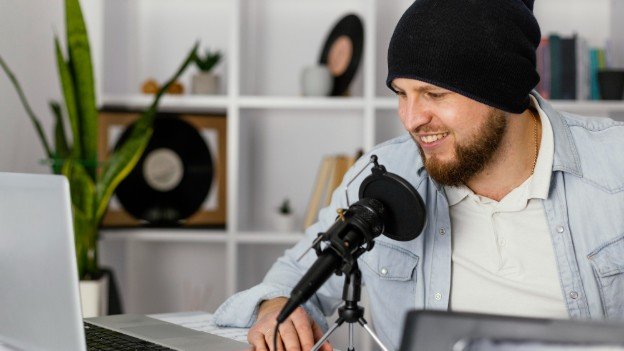
Another major advantage is convenience. Most creators record from bedrooms, home offices, or small studio corners. USB microphones allow you to build a clean recording setup without turning your workspace into a complicated production room.
What I Look for Before Choosing a Voiceover Microphone
Clean Vocal Tone
A strong voiceover microphone should sound natural without excessive bass or sharp treble. Balanced vocal reproduction helps narration feel easier to understand during long listening sessions.
Low Background Noise
Noise rejection becomes extremely important when recording at home. Computer fans, traffic, air conditioning, and keyboard clicks can easily ruin audio quality. Dynamic microphones usually handle noisy spaces better than condensers.
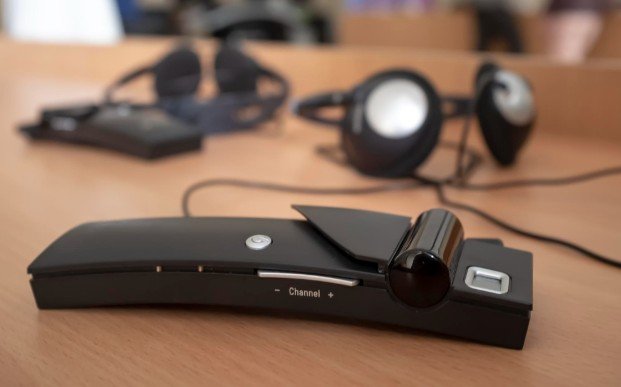
Easy Monitoring Controls
Reliable Build Quality
A microphone used regularly for narration should feel durable. Cheap plastic bodies often develop connection issues over time, especially for creators who record several times a week.
Best Overall Choice for Professional Narration
Shure MV7+
The Shure MV7+ consistently delivers one of the strongest voice types I have heard from a USB microphone. Voices sound deep, smooth, and polished without requiring heavy editing afterward.
Its dynamic capsule helps reduce room noise naturally, making it excellent for untreated recording spaces. Even in smaller rooms with mild echo, recordings remain controlled and professional.
Another feature I appreciate is the built-in DSP processing. Auto-level adjustments and vocal enhancements make recordings sound cleaner even for beginners.
Best Budget Option for New Creators
Fifine AM8
Budget microphones often sound harsh or overly compressed, but the Fifine AM8 performs surprisingly well for its price range.
The microphone produces warmer vocal tones than many inexpensive USB options. It also includes both USB and XLR connections, allowing future upgrades without replacing the entire microphone.
For creators starting YouTube channels, narration work, or freelance voice projects, this microphone offers excellent value without sacrificing too much audio quality.
Best USB Microphone for Untreated Rooms
Rode PodMic USB
One of the biggest problems in home recording is echo. Hard walls and empty rooms create reflections that make narration sound hollow. The Rode PodMic USB solves this problem extremely well because of its dynamic design. It focuses tightly on your voice while reducing surrounding room reflections. I especially recommend this microphone for creators who cannot fully soundproof their recording space.
How to Improve Voiceover Quality Instantly
Even expensive microphones will sound disappointing in poor recording conditions. A few small changes can dramatically improve audio quality.
Position the Microphone Correctly
Keep the microphone slightly off-center rather than directly in front of your mouth. This reduces harsh plosive sounds from words containing strong “P” and “B” sounds.
Use Soft Materials Around the Room
Curtains, rugs, pillows, and fabric furniture absorb echo surprisingly well. You do not need a professional studio to create cleaner recordings.
Record Close to the Microphone
Staying six to eight inches away creates fuller vocal presence while minimizing room noise.
Monitor Your Audio Before Recording Long Sessions
I always test audio levels before starting narration projects. Catching problems early saves enormous editing time later.
Mistakes That Ruin Voiceover Audio
Many creators assume editing software can completely fix poor recordings. Unfortunately, distorted or noisy audio remains difficult to repair later. Overprocessing is another common mistake. Excessive noise reduction often makes voices sound robotic and unnatural.
Room echo also destroys clarity faster than most people realize. Even a high-end microphone will struggle inside an empty reflective room. The best recordings usually sound natural, balanced, and easy to listen to rather than aggressively edited.
Frequently Asked Questions
1. What are the Best USB microphones for voiceovers for beginners?
Beginners usually benefit from microphones that combine simplicity with balanced audio quality. Models like the Blue Yeti, Rode NT-USB+, and Fifine AM8 offer strong performance without requiring advanced setup knowledge.
2. Should I choose a dynamic or condenser microphone?
Dynamic microphones work better in noisy rooms because they reject background sound more effectively. Condenser microphones capture more vocal detail but also pick up more room reflections.
3. Do USB microphones sound professional enough for YouTube narration?
Modern USB microphones can absolutely produce professional-quality narration when paired with proper mic placement and basic room treatment.
4. Do I need expensive software for voice recording?
No. Many creators achieve excellent results using free software like Audacity or beginner-friendly editing tools included with their operating system.
The Real Difference Great Audio Makes
After years of experimenting with microphones, I realized that viewers often forgive average video quality faster than poor audio. Clear narration creates trust, improves watch time, and instantly makes content feel more professional.
The right microphone does not need to cost a fortune. What matters most is choosing a model that matches your room, workflow, and recording style. Once I focused on vocal clarity instead of flashy features, my recordings became dramatically cleaner and easier to edit.
For creators serious about narration, investing in reliable audio equipment remains one of the smartest upgrades you can make.


