
I stopped posting flat-looking beauty videos the moment I realized TikTok rewards texture, movement, and mood more than perfect studio polish. One small lighting adjustment doubled my watch time in less than a week. After testing different setups, I learned that luxury-looking beauty content has very little to do with expensive cameras.
The real difference comes from shadows, reflections, texture detail, and how long viewers stay watching your Reel.
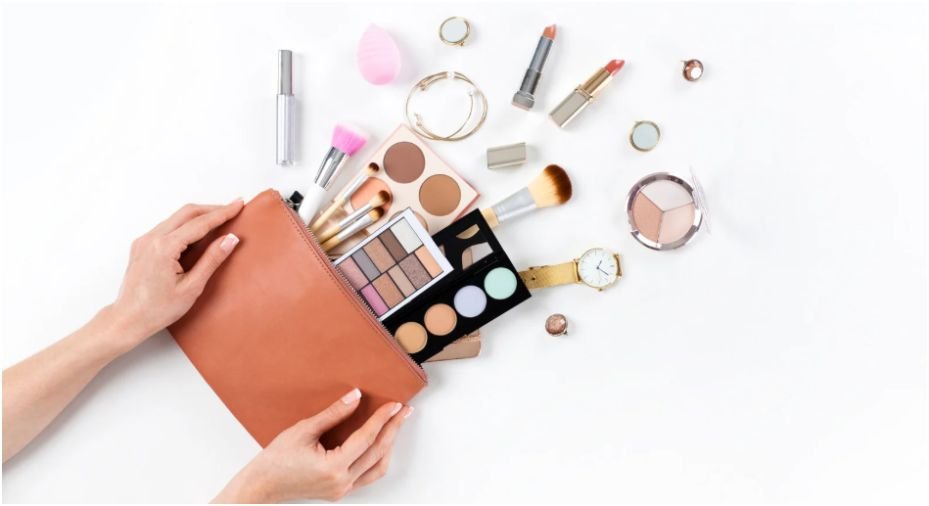
If you want to master how to Shoot Beauty Products for TikTok and Reels, the goal is not just pretty footage. You need visuals that make people stop scrolling instantly.
Why Beauty Content Fails on TikTok and Reels
Most beauty videos fail because they are too static.
Creators place a serum on a white table, turn on a ring light, and expect it to feel premium. Instead, the product looks flat, overexposed, and forgettable.
TikTok and Instagram Reels favor movement and visual stimulation. The algorithm notices replay behavior, retention, and saves. That means satisfying textures, cinematic shadows, and short looping clips perform better than stiff product photography.
I noticed my engagement improved the moment I started introducing:
- moving shadows
- macro swatches
- reflective surfaces
- handheld movement
- dramatic contrast
That slight “editorial imperfection” feels more authentic to younger audiences.
The Lighting Setup That Makes Cheap Products Look Expensive
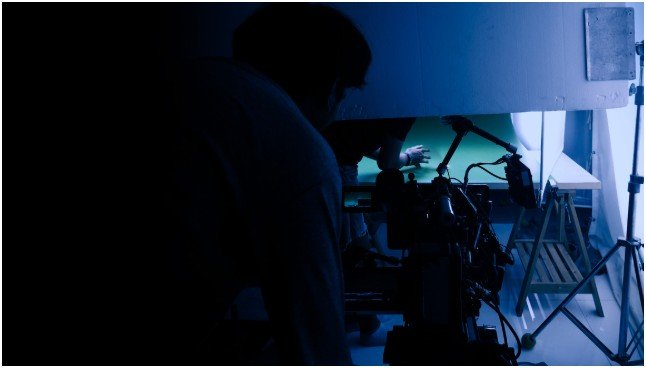
Luxury beauty lighting does not require a studio.
Some of my highest-performing clips were shot beside a bedroom window using household items.
Window Side Lighting
Place your product beside a large window instead of directly facing it.
Side lighting creates natural depth because one side of the product stays slightly darker. This contrast makes packaging appear more dimensional and premium.
North-facing windows usually provide softer, consistent light throughout the day.
Golden hour also works beautifully for skincare products because warm highlights make oils and glosses shimmer naturally.
DIY Softbox and Reflector Tricks
Direct sunlight destroys beauty footage. It creates blown-out highlights and oily reflections.
I diffuse harsh light using a thin white curtain or parchment paper taped over the window. This instantly softens shadows like a professional softbox.
On the opposite side, I place white foam board to bounce light back onto the packaging.
For stronger highlights, wrap cardboard in aluminum foil. The reflection becomes sharper and more editorial-looking.
Here’s a quick reference table I personally use while filming:
| Problem | Quick Fix | Result |
| Harsh shadows | White curtain diffuser | Softer skin and packaging |
| Flat footage | Side window lighting | More depth |
| Dark product side | Foam board reflector | Balanced exposure |
| Weak highlights | Foil reflector | Luxury shine |
| Boring composition | Foreground blur | Cinematic depth |
| Overexposed whites | Lower highlights in editing | Cleaner luxury look |
Using a DIY Snoot for Luxury Highlights
This changed my beauty videos completely.
I rolled black paper into a tube and placed it over my phone flashlight. The narrow beam acted like a mini spotlight.
Suddenly the logo shimmered. Metallic packaging looked expensive. Powder textures became more dramatic.
Professional commercial sets use snoots constantly. This DIY version creates the same focused-light effect for almost free.
Camera Angles and Movement That Increase Watch Time
TikTok rewards movement because motion interrupts scrolling behavior.
Static shots rarely hold attention for long.
Macro Texture Shots
Beauty content thrives on satisfying visuals.
I use 2x or 3x zoom to capture:
- serum drips
- creamy swatches
- gloss reflections
- shimmer particles
Close-up texture shots consistently increase replay value because viewers want to rewatch the movement and detail.
A simple spatula swirl across foundation can outperform a fully edited cinematic sequence.
Foreground Blur Techniques
One of my favorite tricks is placing an object close to the lens.
A blurred foreground creates a “looking through something” effect. It instantly feels more expensive and cinematic.
I often use:
- makeup brushes
- leaves
- translucent packaging
- fabric edges
This adds depth without expensive gear.
Reverse Editing and Stop Motion
Reverse-motion editing works surprisingly well for beauty content.
Film serum dripping downward, then reverse the clip during editing. The liquid appears to rise magically back into the dropper.
Stop-motion also performs well because it feels playful and unusual in crowded feeds.
Products sliding across marble or “assembling themselves” create immediate scroll-stopping movement.
Social Media Beauty Photography Ideas That Increase Engagement
The best-performing beauty content usually tells a mini story.
People interact more when they feel involved.
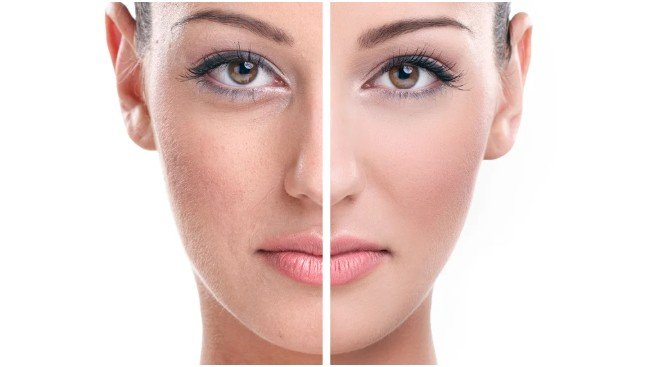
Before-and-After Carousels
Before-and-after sequences drive saves and comments because viewers want a comparison.
Show:
- raw skin texture
- application process
- final result
- lighting difference
This format performs especially well for skincare and complexion products.
Behind-the-Scenes Content
Perfect studio content feels less trustworthy now.
Behind-the-scenes clips showing:
- your lighting setup
- messy swatches
- failed takes
- reflection tricks
often increase audience connection.
People enjoy seeing how the illusion gets created.
Product Battles and Tutorials
Comparison videos naturally encourage comments.
Ask viewers:
- Which gloss shade looks better?
- Matte or dewy?
- Warm or cool tone?
Educational beauty content also performs well because tutorials increase save rates.
That’s why I now combine tutorials with cinematic filming techniques instead of posting plain product shots.
I also borrow inspiration from broader commercial photography ideas because commercial shoots prioritize visual storytelling over simple documentation.
How to Color-Grade Your Footage for a Luxury Look
Editing decides whether beauty footage feels expensive or forgettable.
Most creators push saturation too far, which makes products look cheap and artificial. Luxury beauty brands usually go in the opposite direction. Their visuals feel cleaner, softer, and more controlled.
The Best Luxury Settings
These are the settings I use most often in CapCut and VN when editing skincare and makeup Reels:
| Setting | Adjustment |
| Brightness | -5 |
| Contrast | +12 |
| Saturation | -7 |
| Sharpen | +25 |
| Highlights | -10 |
Slightly lowering brightness helps colors appear richer. Increasing contrast adds depth and separation, especially around glossy packaging. I also reduce saturation because muted tones feel far more editorial than overly vibrant colors.
Sharpening is the setting that changes smartphone footage the most. It gives textures a cleaner, more professional appearance without making the image look fake.
Lowering highlights is equally important. It prevents oily reflections and keeps white packaging from looking blown out.
HSL Adjustments That Change Everything
HSL controls create the polished “luxury campaign” feel most creators struggle to achieve.
I usually reduce yellow and orange saturation slightly because it makes skin tones and cream products appear smoother and cleaner. For blue tones, I soften saturation and brighten luminance so backgrounds feel softer and more premium. Greens also look better when shifted slightly toward emerald instead of bright neon shades.
These small adjustments completely change the mood of the footage. Muted tones almost always feel more expensive than highly saturated colors.
Creating a Soft Glow Effect
Luxury beauty campaigns often have a subtle glow around highlights and reflections. That soft bloom effect makes products appear smoother and more cinematic.
I recreate this by applying a very light overlay filter at low opacity, usually around 10%. The effect should stay subtle. If viewers notice the filter immediately, it is too strong.
Another trick I still use is lightly fogging the lens with breath before filming bright highlights. This creates a natural halation effect around lights and reflective packaging.
The final image feels softer, cleaner, and far more editorial.
Small Styling Details That Make Reels Look Professional
Tiny mistakes instantly reduce production quality.
Fingerprints on packaging are one of the fastest ways to make beauty footage feel amateur. Before filming, I wipe every surface carefully and double-check reflections inside mirrors or metallic caps.
Neutral backgrounds also matter more than people realize. White, beige, marble, and muted textures keep the attention on the product instead of the environment.
I also try to match wardrobe colors to the product branding whenever I appear on camera. That consistency makes the overall Reel feel more intentional and visually cohesive.
White balance is another detail creators often ignore. If whites look yellow or green, even expensive products start looking low quality. A subtle vignette can also help guide attention directly toward the center product without distracting the viewer.
My Tested Workflow for Filming Beauty Reels Faster
After months of testing, I realized fast workflows matter more than complicated setups.
My current process takes about 20 minutes:
First, I shoot texture close-ups beside a diffused window.
Next, I capture movement clips with handheld motion.
Then I add one “hero shot” using the DIY snoot spotlight.
Finally, I color-grade using reduced saturation and sharper contrast.
That workflow consistently produces stronger retention than heavily staged studio-style content.
FAQs
1. What is the best lighting for beauty product Reels?
Soft side lighting near a window works best. Diffused natural light creates cleaner skin tones and more realistic product textures.
2. How do influencers make beauty products look expensive?
They use controlled shadows, macro texture shots, reflective surfaces, and restrained color grading instead of oversaturated filters.
3. How do I make TikTok beauty videos more engaging?
Short looping clips, reverse-motion edits, tutorials, and behind-the-scenes content usually increase replay value and saves.
4. Do I need a DSLR for beauty product content?
No. Most modern smartphones can produce excellent results with proper lighting, sharp focus, and good editing.
5. What app is best for how to color-grade your footage?
CapCut, VN, and InShot all work well for beauty content because they include HSL controls, sharpening tools, and highlight adjustments.
Your Products Deserve Better Than Flat Lighting
Beauty content is no longer about perfect studio setups. It is about making viewers feel texture, mood, and movement through a screen.
The biggest improvement in my content came when I stopped chasing perfection and started shaping light intentionally. A cheap reflector, a diffused window, and controlled color grading created better engagement than expensive gear ever did.
If your Reels still look flat, start with shadows first. Luxury beauty content lives inside the contrast.


