


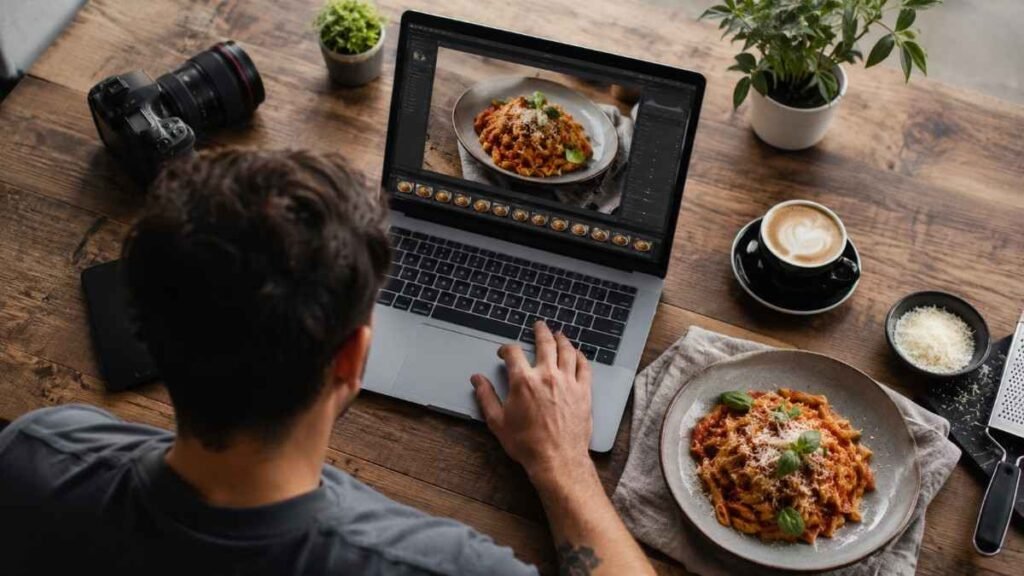

Scrolling through food photos online often makes restaurant meals and homemade recipes look unbelievably perfect. The secret is rarely expensive cameras alone. Smart editing plays a massive role in making dishes appear brighter, fresher, and more appetizing. These food photo editing tricks can instantly improve texture, colors, lighting, and overall presentation while keeping images realistic enough to make viewers hungry.
Key Takeaways
- Correct white balance for natural food colors
- Increase vibrancy instead of heavy saturation
- Use masking tools to highlight the dish
- Improve texture with clarity and sharpening
- Keep edits realistic for professional results
Why Do We Edit Food Photos?
Even high-quality cameras sometimes fail to capture the richness and warmth seen in real life. Food photography editing techniques help restore those details while improving brightness, texture, and depth. A well-edited image can make simple dishes look professionally styled for blogs, menus, Instagram posts, and recipe websites.
Editing also improves audience engagement online. Bright food images with natural colors tend to receive more clicks, saves, and shares across social media platforms. Professional creators rely on subtle adjustments to build a consistent visual identity that viewers instantly recognize.
Food Photos Need Natural Colors
Natural tones make food look more appetizing and trustworthy. Overedited food images can look artificial and unappealing. Warm pasta dishes should feel cozy, salads should appear crisp and fresh, and desserts should maintain realistic textures. Balanced color correction creates a polished look without making the image feel fake.
Better Editing Improves Brand Quality
Clean editing gives food content a premium appearance. Food bloggers, cafés, bakeries, and restaurants often use consistent editing styles to strengthen their branding. Sharp textures, clean backgrounds, and balanced lighting help businesses appear more professional while improving customer trust online.
Essential Food Photo Editing Tricks
Small editing adjustments usually create the biggest improvements.
Fix White Balance First
White balance affects how fresh food appears in photos.
Artificial lighting often creates yellow or blue color casts that make dishes look dull. Correcting the temperature slider helps restore realistic tones. Slightly warmer edits work beautifully for baked goods, coffee, meat, and comfort foods, while cooler tones may suit beverages and minimal food styling.
Fixing white balance also improves plates, napkins, and table surfaces. Clean whites instantly make food photography feel brighter and more professional.
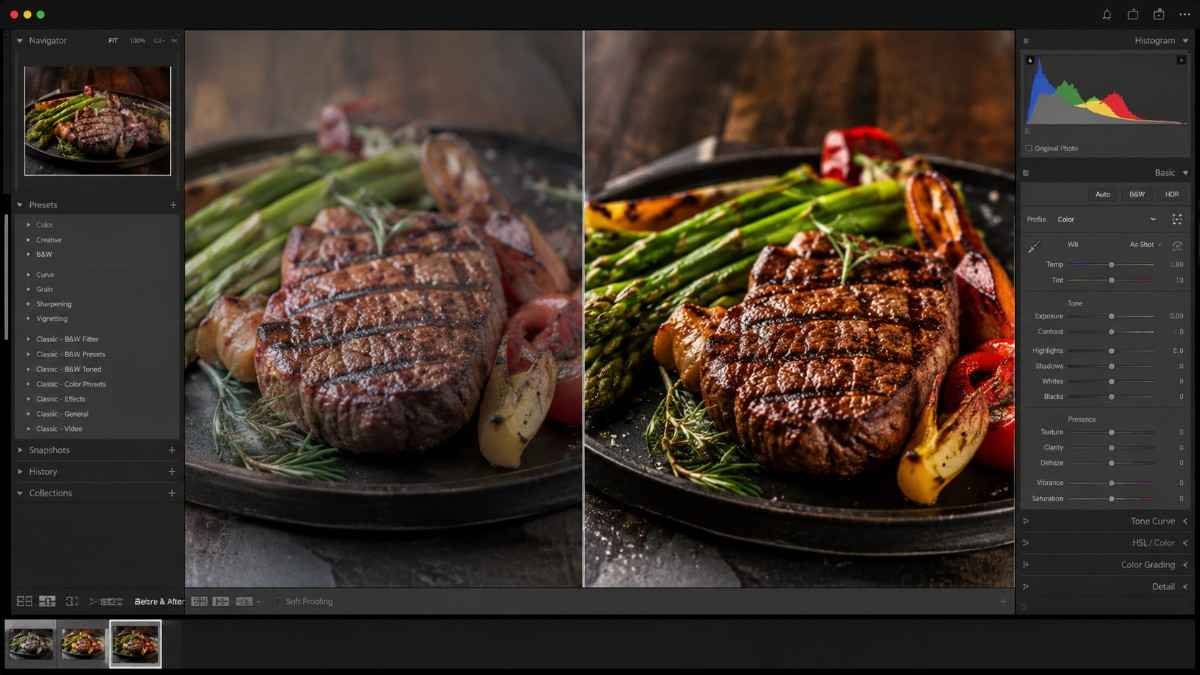
Brighten And Add Contrast

Balanced brightness gives food more visual depth.
Raise exposure slightly to brighten the image while keeping details intact. Lower highlights if white plates lose texture or appear overexposed. Contrast should be increased carefully to create separation between ingredients without making shadows too harsh.
Professional food photographers often use soft contrast adjustments because subtle edits maintain a more natural appearance. Bright food images generally perform better on Instagram, Pinterest, and recipe blogs.
Boost Vibrancy Instead Of Saturation
Vibrancy improves colors without damaging skin tones or whites. Increasing saturation too aggressively can make ingredients look unrealistic. Vibrancy selectively enhances muted colors while preserving natural textures and tones.
Greens become fresher, fruits appear richer, and sauces gain depth without looking digitally processed. This is one of the most effective food photo editing tricks for maintaining realistic and professional-looking images.
Improve Texture And Sharpness
Texture helps viewers almost taste the food visually.
Add Clarity Carefully
Bread crusts, vegetables, grilled meats, and creamy desserts all benefit from moderate clarity adjustments. Too much clarity can make food look dry or overly crunchy, so soft enhancements usually work best.
Selective texture adjustments are more effective than sharpening the entire image equally. Keeping backgrounds smooth while sharpening food areas creates better visual focus.
Use Sharpening Selectively
Selective sharpening makes ingredients appear fresher. Light sharpening can improve details in toppings, herbs, sauces, and garnishes. Over-sharpening introduces digital noise and creates harsh edges that reduce image quality. Professional editors sharpen only the key elements of the dish rather than every part of the frame.
Remove Small Distractions
Tiny imperfections often distract viewers immediately. Healing and clone tools help remove crumbs, grease marks, stains, or scratches on plates. Cleaner compositions create a polished and professional food photography style that works well for restaurants and recipe creators.
Advanced Food Photo Editing Tricks
Advanced techniques help create more professional food visuals.
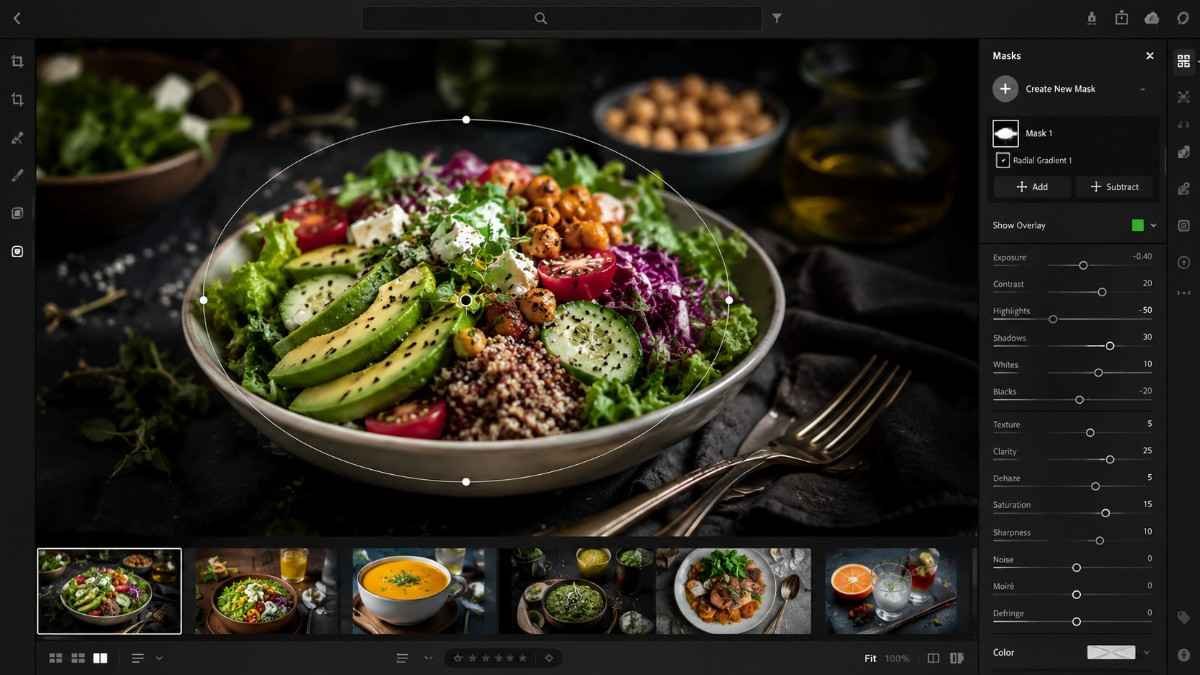
Use Selective Editing And Masking
Masking tools control attention inside the frame. Radial filters and brush tools in Lightroom allow editors to brighten only the dish while slightly darkening backgrounds. This creates depth and naturally draws the eye toward the food.
Selective edits are especially useful for restaurant photography where distracting table elements or uneven lighting can reduce image quality.
Use The HSL Panel For Color Grading
HSL editing controls individual colors separately. Food photographers often increase greens for salads, deepen reds for sauces, or reduce orange tones in cooked meat. These adjustments improve realism without affecting the entire image.
The HSL panel is one of the most powerful Lightroom food photography tools because it allows precise color control while preserving natural tones.
Add A Soft Vignette
Subtle vignettes improve focus and composition. A soft dark vignette around the edges gently directs attention toward the center of the dish. Heavy vignettes can feel outdated, so professional edits usually keep this effect very minimal.
How To Use Food Photo Editing Tricks Step By Step
A simple editing workflow keeps food images clean and consistent.
Start by cropping and straightening the photo for better composition. Correct white balance immediately to remove unwanted yellow or blue tones. Raise exposure slightly to brighten the image, then lower highlights if plates or reflective surfaces lose detail. Increase contrast softly to create separation between ingredients.
Next, boost vibrancy instead of saturation for more natural colors. Add slight clarity or texture to improve details in bread, vegetables, meats, or desserts. Use sharpening carefully so ingredients appear fresh without adding noise. If needed, remove crumbs, grease spots, or distractions with healing tools.
Finish the image with selective masking adjustments. Brighten the food while slightly darkening backgrounds to improve focus. Add a soft vignette for extra depth and export the image in high resolution for blogs, Pinterest, or Instagram.
Pro Tips For Better Food Photography Editing
Professional workflows help maintain consistent image quality.
Shoot In RAW Format
RAW files preserve more image information. RAW photography captures extra detail in shadows and highlights, making editing far more flexible. This helps photographers recover exposure and color accuracy without damaging image quality.
Edit Based On The Food Type
Different foods need different editing styles. Brown foods like coffee, burgers, and grilled meat usually benefit from warm color grading and stronger contrast. Salads, smoothies, and fruit dishes often need brighter exposure and enhanced greens to appear fresh. Understanding food color psychology helps create more visually appealing edits.
Avoid Over Editing
Natural food photos always perform better long term. Heavy filters, unrealistic colors, and extreme sharpening can reduce trust quickly. Professional food photo editing tricks focus on enhancing the dish while keeping it believable and edible.
Frequently Asked Questions
1. How to edit photos to make food look better?
Adjust white balance, brighten exposure, increase vibrancy, improve texture, and sharpen key details slightly while keeping the image natural.
2. What tricks do food photographers use?
Food photographers use natural light, selective masking, color grading, texture enhancement, and subtle sharpening to make dishes look fresh and appealing.
3. What is the 80 20 rule in photography?
The 80 20 rule suggests keeping most of the frame visually simple while using one strong focal area to grab attention.
4. What is the 20 60 20 rule in photography?
The 20 60 20 rule balances supporting elements, the main subject, and negative space to create visually pleasing compositions.
Final Bite Of Editing Magic
Mastering food photo editing tricks can completely change how recipes, restaurant dishes, and café shots appear online. Small adjustments like fixing white balance, boosting vibrancy, improving texture, and using selective masking help create clean and professional visuals that instantly grab attention. Consistent editing paired with natural styling will make every food image look brighter, fresher, and far more irresistible across blogs, Pinterest, Instagram, and digital menus.


