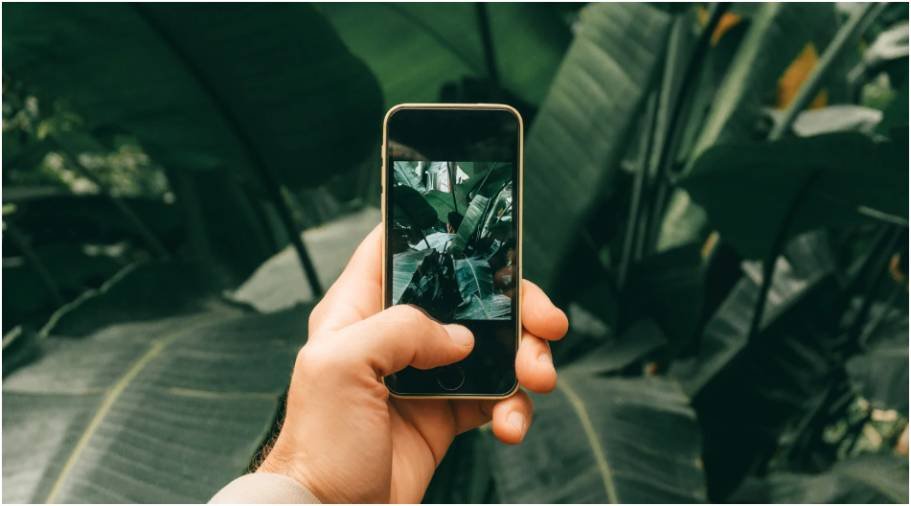


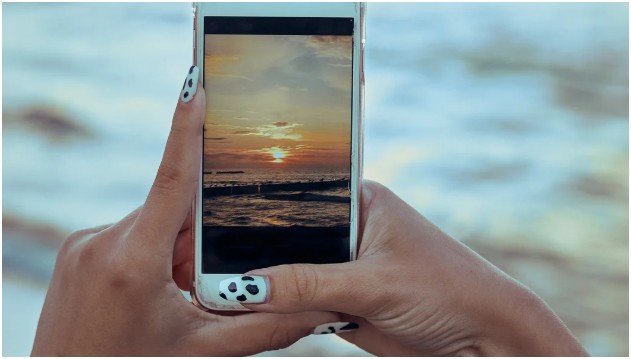
I stopped blaming my phone camera the moment I realized most bad photos came from poor technique, not weak hardware. My photos changed dramatically after I learned a few simple mobile photography hacks that professional creators quietly use every day.
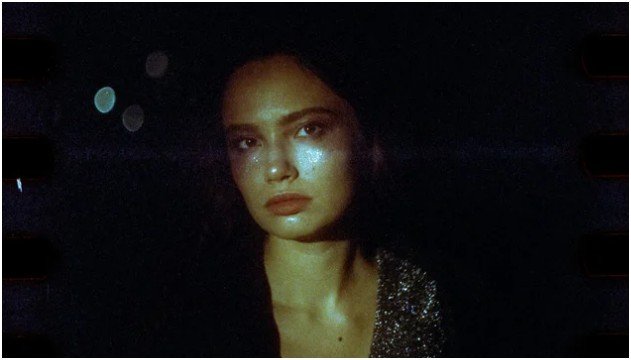
The difference showed up immediately. My night shots became sharper. Colors looked cleaner. Portraits stopped looking flat. Even random coffee shop photos suddenly looked social-media ready without expensive gear.
Most people already carry a powerful camera in their pocket. They just never unlock what it can actually do.
Why Most Smartphone Photos Look Flat
Phone cameras rely heavily on automatic processing. That sounds convenient until the software over-brightens shadows, oversharpens faces, and destroys natural color balance.
I noticed this most during city night photography. Neon signs looked muddy. Streetlights turned orange. Dark areas became noisy and grainy.
The fix was learning how to control light manually instead of letting the phone guess everything.
That single shift improved nearly every photo I took. Learning more about composition and visual storytelling photography also helped me create photos that felt more emotional and intentional instead of random snapshots.
The First Mobile Photography Hack Everyone Ignores
Clean the lens.
Seriously.
Fingerprints create haze, reduce contrast, and soften details. I used to think my camera quality dropped over time. In reality, my lens was covered in pocket grease.
A quick wipe with a microfiber cloth instantly restored clarity.
I now clean my camera lens before every outdoor shoot, restaurant photo, or night session.
Camera Settings That Instantly Upgrade Your Photos
Most people never leave Auto mode. That is where smartphone photography loses creative control.
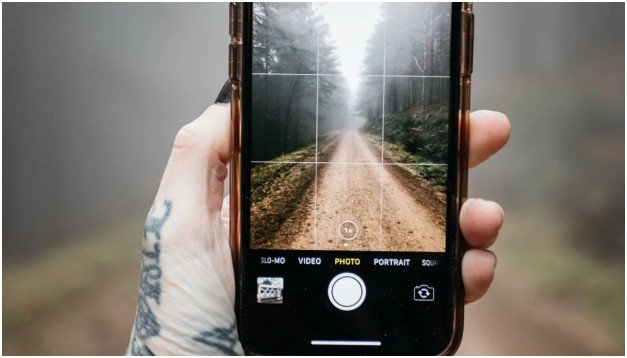
Turn On Grid Lines for Better Composition
Grid lines help you apply the Rule of Thirds. Instead of placing subjects dead center, position them slightly off-center where the grid lines intersect.
Photos immediately feel more balanced and cinematic.
I especially use this for travel photography and skyline shots.
Use HDR Carefully
HDR helps preserve details in bright skies and dark shadows. It works well during sunsets, street photography, and backlit portraits.
But excessive HDR can make photos look fake.
I only use HDR when there is strong contrast between highlights and shadows.
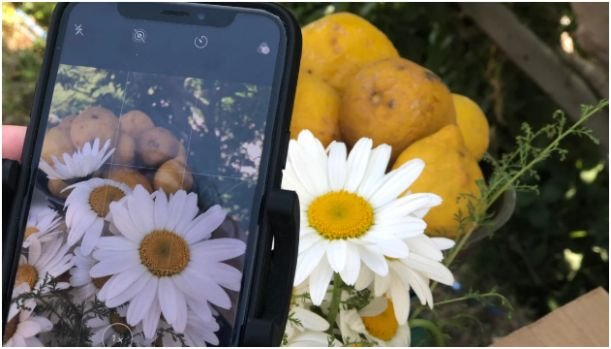
Tap to Control Focus and Exposure
One of my favorite mobile photography hacks is manually controlling exposure before taking the photo.
I tap the subject, then slide my finger down slightly to darken the image.
This preserves highlights and keeps photos looking richer instead of overexposed.
Shoot in RAW for Better Editing
RAW files store more image data than JPEGs. That means better editing flexibility later.
When I edit night photos in Adobe Lightroom Mobile, RAW images recover shadows and colors far better than standard files.
If your phone supports RAW shooting, enable it immediately.
Composition Tricks That Make Photos Feel Expensive
Great photography depends more on composition than camera quality.
Some of my best-performing photos online came from older phones simply because the framing worked.
Stop Shooting Everything at Eye Level
Changing perspective completely changes visual impact.
For dramatic architecture shots, I shoot from low angles. For food photography, I often shoot overhead.
The “bug’s eye view” trick works surprisingly well for street scenes and reflections.
Use Leading Lines Naturally
Roads, fences, subway rails, and sidewalks guide the viewer’s eyes toward the subject.
I use leading lines constantly in urban photography because they create depth instantly.
Even parking garages become visually interesting when lines guide attention properly.
Leave Empty Space in the Frame
Most beginners overcrowd their photos.
Negative space creates breathing room and emphasizes the subject more effectively.
A single person standing against a wide blue sky often feels more powerful than a cluttered frame.
Never Use Digital Zoom
Digital zoom destroys image quality by cropping aggressively.
I physically move closer whenever possible. If my phone includes a telephoto lens, I switch to that instead.
This simple habit alone improved sharpness dramatically.
The Lighting Trick That Changed My Photos Forever
Golden hour light fixes almost everything.
The hour after sunrise and before sunset creates softer shadows, warmer skin tones, and more balanced contrast.
Harsh midday light often creates blown highlights and deep eye shadows.
I now schedule outdoor photography around golden hour whenever possible.
Even ordinary parking lots look cinematic during that light window.
Night Photography Hacks Most People Never Try
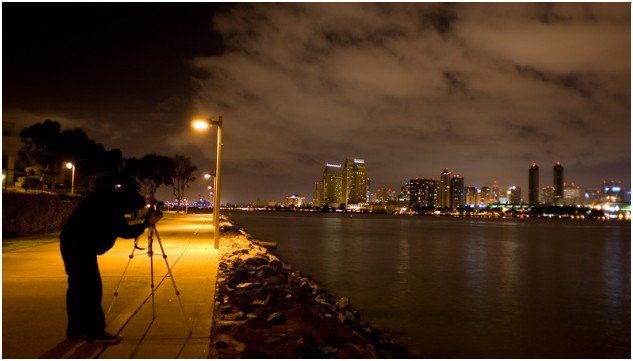
Night photography separates casual phone users from skilled creators.
Low light exposes every weakness in smartphone cameras. But smart settings solve most problems quickly.
Use Pro Mode Instead of Auto
Auto mode usually raises ISO too aggressively in darkness.
That creates grainy photos.
In Pro Mode, I keep ISO between 100 and 400 whenever possible. Then I increase the shutter speed to collect more light naturally.
The image stays cleaner and sharper.
Slow Shutter Speed Creates Cleaner Night Shots
A slower shutter speed lets the sensor absorb more light over time.
For cityscapes, I often use exposures between 2 and 8 seconds.
This creates brighter images without excessive digital noise.
Use Manual Focus at Night
Autofocus struggles in darkness.
I manually focus using the infinity setting for skyline shots and city photography.
This keeps distant lights crisp instead of blurry.
Stability Matters More Than Camera Quality
Most blurry night photos come from hand movement.
I learned this the hard way after ruining an entire downtown photo session.
Use the Timer Feature
Pressing the shutter button creates tiny vibrations.
Using a 2-second timer eliminates that movement completely.
My long exposure shots became noticeably sharper after using this trick consistently.
Turn Everyday Objects Into Tripods
I regularly lean my phone against coffee cups, railings, walls, and backpacks.
You do not always need professional equipment.
Stability matters more than expensive accessories.
Creative Night Shot Ideas That Work Surprisingly Well
The best night photos usually involve movement, contrast, or reflections.
Capture Light Trails
Cars become glowing ribbons during long exposure photography.
I usually set my shutter between 5 and 10 seconds near busy intersections.
The effect instantly looks cinematic.
Use Reflections for Dramatic Shots
One of my favorite mobile photography hacks involves puddles after rain.
I flip my phone upside down so the lens sits closer to the reflection surface.
This creates dramatic mirror-like compositions that feel far more professional.
Shoot During Blue Hour
Blue hour happens shortly after sunset.
The deep blue sky contrasts beautifully with warm city lights.
I personally think blue hour produces better smartphone night photos than complete darkness.
How I Edit Night Photos to Make Colors Pop
Editing matters just as much as capturing the image.
Most great smartphone photos go through some level of post-processing.
Fix White Balance First
Streetlights often create ugly orange color casts.
I cool down the temperature slider slightly to restore realistic tones.
This alone makes night photos look cleaner.
Use Vibrance Instead of Saturation
Saturation affects every color aggressively.
Vibrance targets muted tones more intelligently.
My photos look richer without appearing fake.
Create Cinematic Teal and Orange Tones
Inside Lightroom’s HSL panel, I shift aqua tones slightly deeper blue and warm highlights toward orange.
This creates the cinematic “teal and orange” look used in movies.
When used subtly, it adds incredible depth.
Add Glow Carefully
Lowering clarity slightly creates soft, glowing lights around neon signs and headlights.
This gives night photos a polished editorial look.
Your Camera Roll Deserves Better Than Auto Mode
Most people already own a capable camera. They simply never learn how to control it properly.
Once I started using these mobile photography hacks consistently, my photos stopped looking random and started looking intentional.
You do not need expensive gear to create dramatic portraits, cinematic night shots, or vibrant travel photos.
You need better light, steadier hands, cleaner composition, and smarter editing.
Your phone is already powerful enough.
Now make it work harder.
FAQs
1. What are the best mobile photography hacks for beginners?
Start with cleaning your lens, using grid lines, avoiding digital zoom, and learning manual exposure control. These changes improve photos immediately.
2. How do I take better night photos on my phone?
Use Pro Mode, keep ISO low, stabilize your phone, and shoot during blue hour for cleaner and more colorful images.
3. Which app is best for editing smartphone photos?
Adobe Lightroom Mobile remains one of the best apps for RAW editing, color grading, and detailed night photo adjustments.
4. Why do my phone photos look grainy at night?
High ISO settings create digital noise. Lower ISO and slower shutter speeds usually produce cleaner night images.
5. Is RAW mode worth using on smartphones?
Yes. RAW files preserve more image data, allowing stronger edits without damaging image quality.


