
The first time I photographed a luxury home in Arizona, I thought my camera would do most of the work. Instead, the images looked flat, dark, and inconsistent because I didn’t understand how important lighting truly was. Once I learned how professionals balance natural light, flash, HDR, and flambient blending, my listing photos immediately started looking cleaner, brighter, and far more expensive.
Today, buyers in competitive US housing markets scroll through listing photos incredibly fast. If a room looks dim, yellow, or poorly balanced, they move on instantly. Strong lighting creates the bright, spacious, polished look buyers expect from modern real estate listings. That’s why mastering real estate photography lighting became the biggest improvement in my workflow.
In this blog I’ll walk through the exact lighting techniques, camera settings, gear setups, and editing methods I personally use to create professional-looking property images that attract attention online.
Why Lighting Is Everything in Real Estate Photography
Lighting controls how buyers emotionally respond to a property. Bright and evenly lit rooms feel larger, cleaner, and more inviting. Poor lighting creates muddy shadows, yellow walls, and cramped-looking spaces.
I’ve noticed that homes photographed with balanced lighting often appear more luxurious online, even when the property itself is fairly standard. Proper illumination highlights flooring textures, kitchen finishes, ceiling height, and architectural details while helping every room feel warm and welcoming.
In the US real estate market, where buyers often browse listings from their phones first, lighting can directly influence click-through rates and showing requests.
My Preferred Natural Light Workflow for Interior Listings
Natural daylight still forms the foundation of most successful property photography shoots. I always begin by opening blinds and curtains to maximize indirect sunlight.
East-facing homes typically photograph best during morning hours, while west-facing properties often look better in late afternoon light. In places like California, Texas, Arizona, and Florida, midday sun can become extremely harsh, especially in rooms with oversized panoramic windows.
Interestingly, overcast days often produce the best interior photos because clouds soften the incoming light naturally. Soft daylight reduces extreme contrast and creates smoother transitions across walls and furniture.
One habit that improved my work immediately was tracking property orientation before arriving at the shoot. Timing matters more than many beginners realize.
The Camera Settings I Use for Sharp Interior Photos
My camera settings remain fairly consistent across most residential shoots because they provide reliable sharpness and clean shadows.
| Setting | Recommended Range | Purpose |
| Aperture | f/7.1 to f/11 | Maintains deep room sharpness |
| ISO | 100–400 | Reduces noise and grain |
| Shutter Speed | Variable | Captures ambient brightness |
| White Balance | AWB or 5600K | Controls color consistency |
| Lens Range | 16mm–24mm | Captures wider spaces naturally |
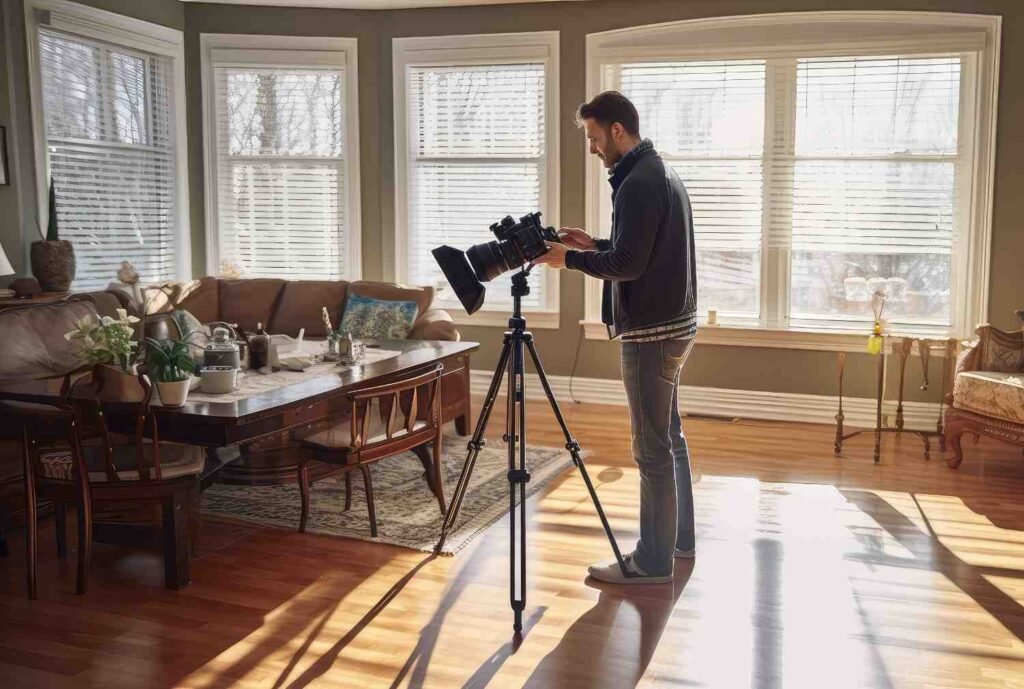
I nearly always shoot using a tripod because slower shutter speeds allow the room’s natural ambient glow to remain visible without introducing blur.
Bracketing exposures is another major part of my workflow. I typically capture three to five exposures for every composition so I can recover window detail and shadow depth later during editing.
Flash vs HDR vs Flambient: What Actually Works Best?
One of the biggest questions photographers ask involves choosing between HDR, flash, or flambient techniques.
HDR Real Estate Photography
HDR photography combines multiple exposures into a single balanced image. It works especially well for fast-moving suburban listing shoots where turnaround speed matters.
I generally use HDR when:
- Natural light is already balanced
- The property is moderately sized
- The client wants quick delivery
- Window exposure differences are manageable
Modern HDR software has improved dramatically, but over-processing still creates fake-looking interiors if pushed too aggressively.
Flash Photography
Flash photography offers significantly more lighting control than HDR alone. I frequently bounce flash into ceilings or walls to spread soft illumination evenly throughout darker rooms.
This method works especially well in:
- Basements
- Large living spaces
- Luxury kitchens
- Dark hallways
- Rooms with heavy mixed lighting
Bounced flash also helps neutralize strong orange or yellow color casts caused by tungsten lighting.
The Flambient Method
The flambient method combines ambient exposures with bounced flash frames during editing. Many top US real estate photographers use this process because it delivers extremely clean and natural-looking results.
The ambient frame preserves warmth and realism, while the flash frame corrects shadows and color contamination. Blending both exposures together creates polished listing photos with balanced highlights, clean white walls, and realistic room depth.
This workflow takes more time, but the final images usually look dramatically more professional.
My Favorite Industry Lighting Gear for USA Homes
Over time, I learned that reliable lighting gear speeds up shoots tremendously, especially in larger American homes with open floor plans and tall ceilings.
For luxury properties and homes with oversized windows, I often rely on the Godox AD600BM because its 600W output can compete with intense daylight flooding into living spaces.
For everyday suburban properties, the Godox AD200 Pro remains one of my favorite portable lighting tools due to its lightweight design and fast repositioning ability.
Beginners usually benefit from starting with the Godox V1 because its round flash head creates softer bounced light inside standard drywall interiors.
For luxury walkthrough videos and cinematic listing content, continuous LED (A light-emitting diode) lighting becomes essential. The Aputure LS 300x performs exceptionally well for premium video shoots, while the Godox Litemons LA300R RGB LED Monolight offers strong value for creators needing flexible color temperature control.
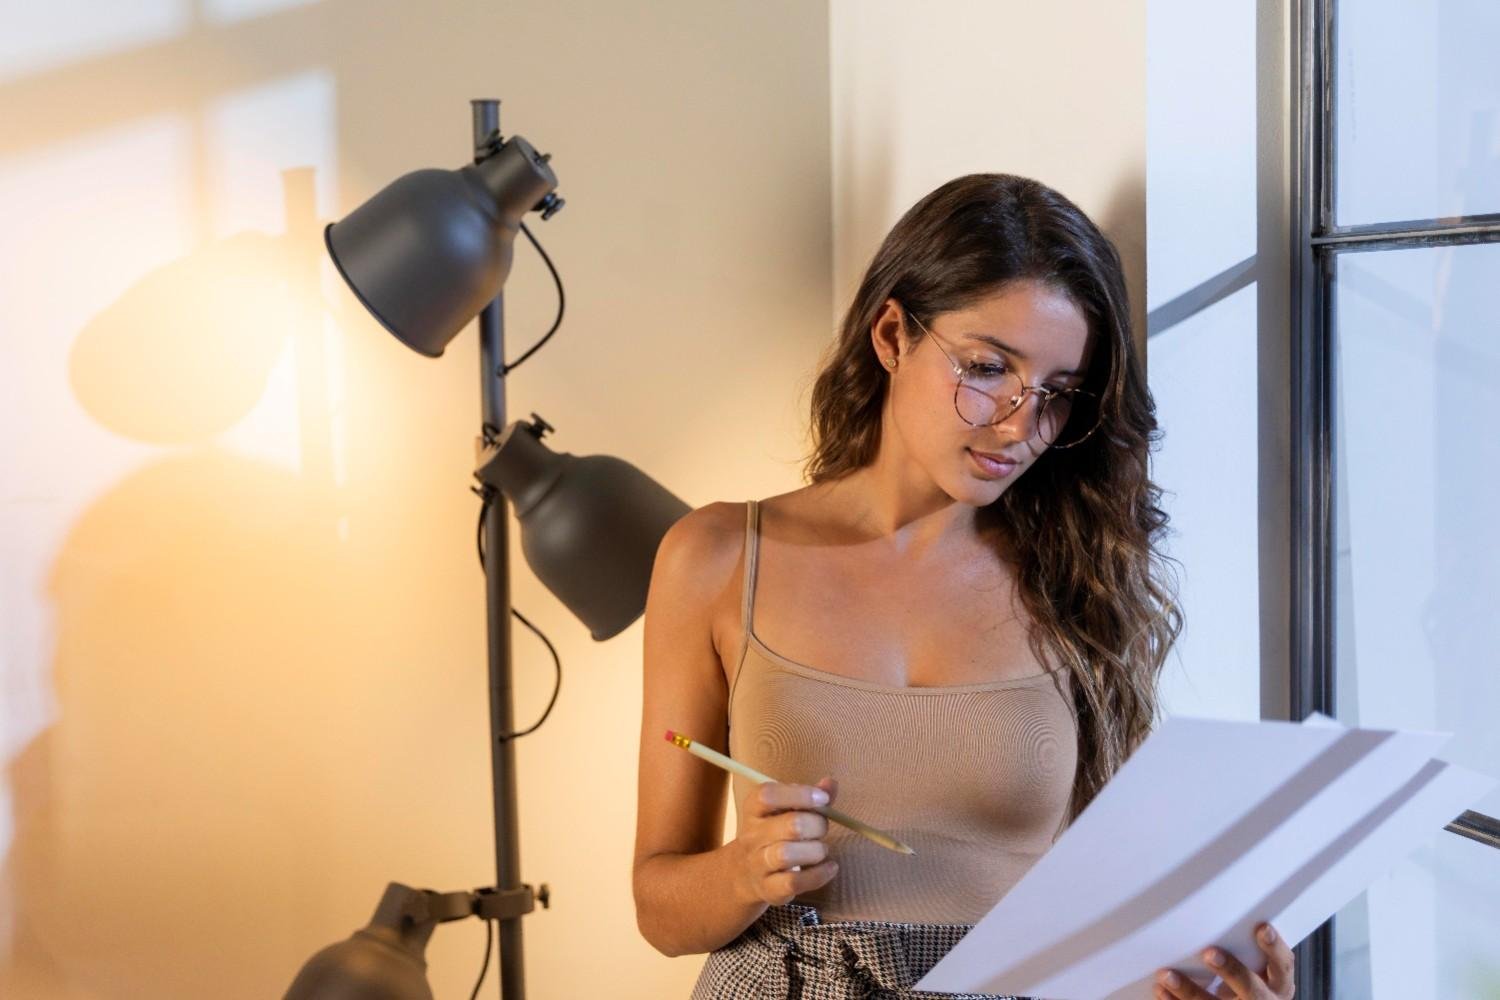
How I Eliminate Mixed Lighting Problems
Mixed lighting remains one of the hardest parts of interior photography. Many US homes contain multiple bulb temperatures simultaneously, including warm 2700K bulbs mixed with cooler daylight from windows.
This often creates ugly yellow, orange, or blue color contamination throughout the room.
One of the best solutions I’ve found is simplifying the scene by turning off problematic lamps whenever possible. If the room still needs warmth, I’ll selectively leave decorative fixtures on while balancing everything later during editing.
Keeping white balance consistent during capture dramatically reduces post-processing headaches later.
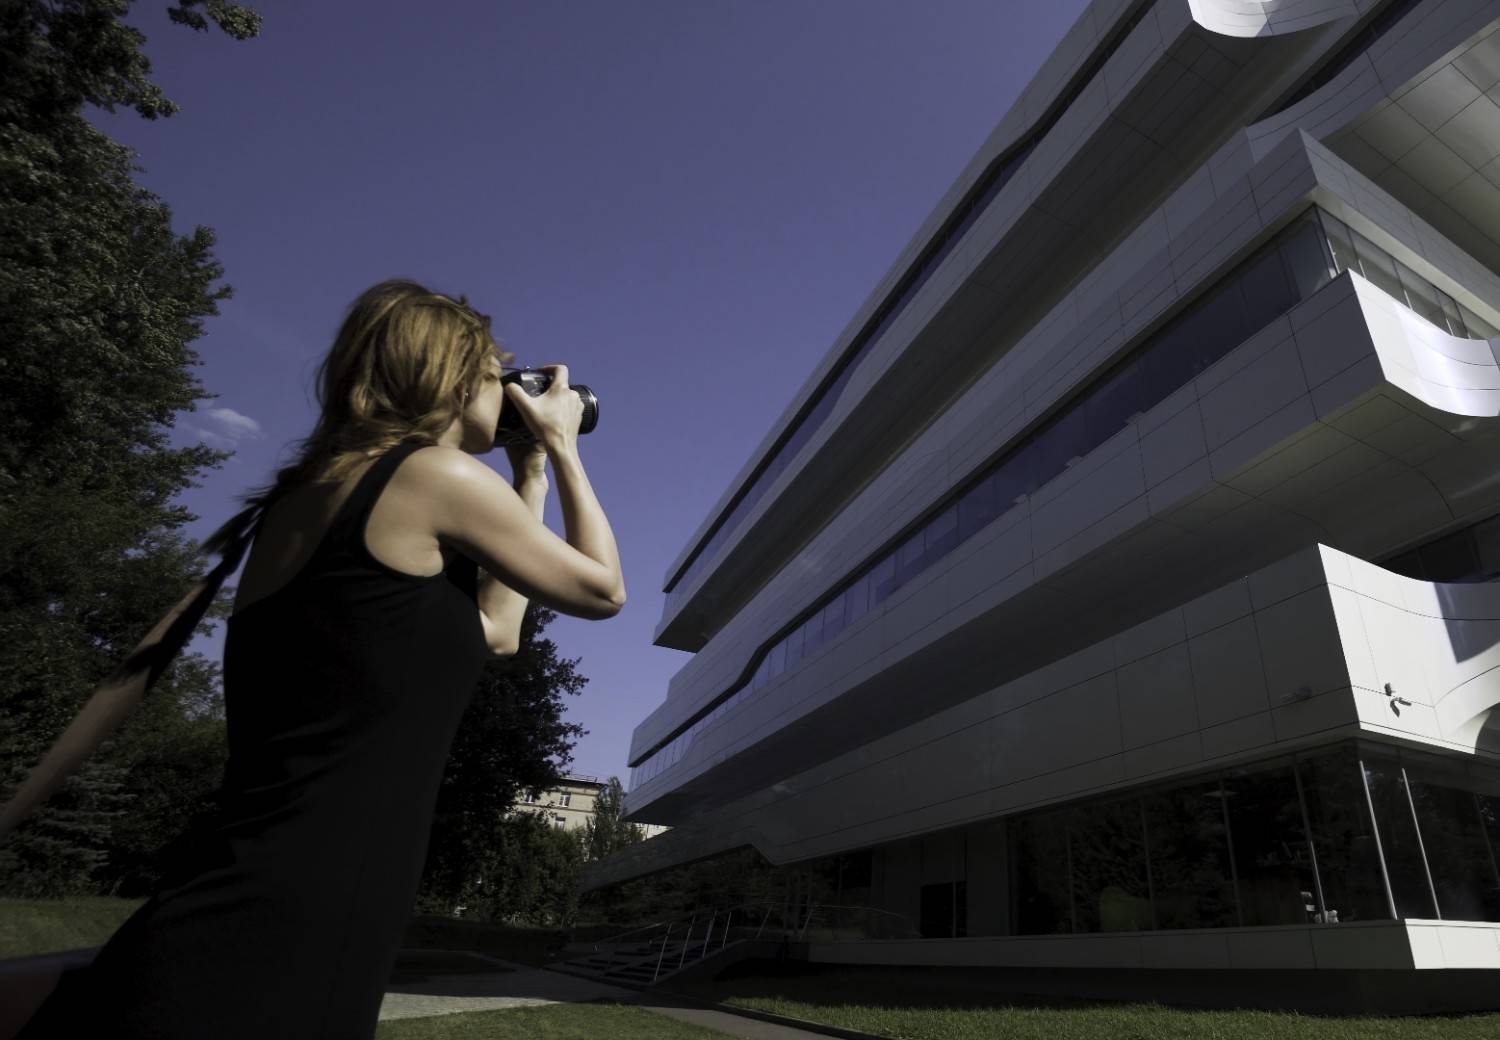
The Window Pull Technique That Improves Luxury Listings
Bright windows can easily ruin interior images if not handled correctly. Without exposure balancing, outdoor scenery becomes completely overexposed and distracting.
To solve this, I shoot a darker exposure specifically for the windows, often using a stronger flash or strobe aimed directly toward the glass. Later, I blend that frame into the brighter ambient exposure during editing.
This process, commonly called a window pull, preserves:
- Backyard details
- Landscaping
- Skyline views
- Water features
- Natural outdoor lighting
Luxury buyers especially expect visible outdoor detail in premium listing photography.
Common Lighting Mistakes I Avoid During Every Shoot
One of the biggest mistakes I made early on was relying too heavily on artificial-looking HDR edits. Buyers immediately recognize unnatural shadows, glowing edges, and fake color saturation.
I also avoid:
- Harsh direct flash
- Crooked vertical lines
- Extreme wide-angle distortion
- Dark ceilings
- Blown-out windows
- Inconsistent white balance
Another major issue is forgetting reflective surfaces. Mirrors, stainless steel appliances, and glossy flooring can easily reveal hidden flash reflections if lighting placement isn’t controlled carefully.
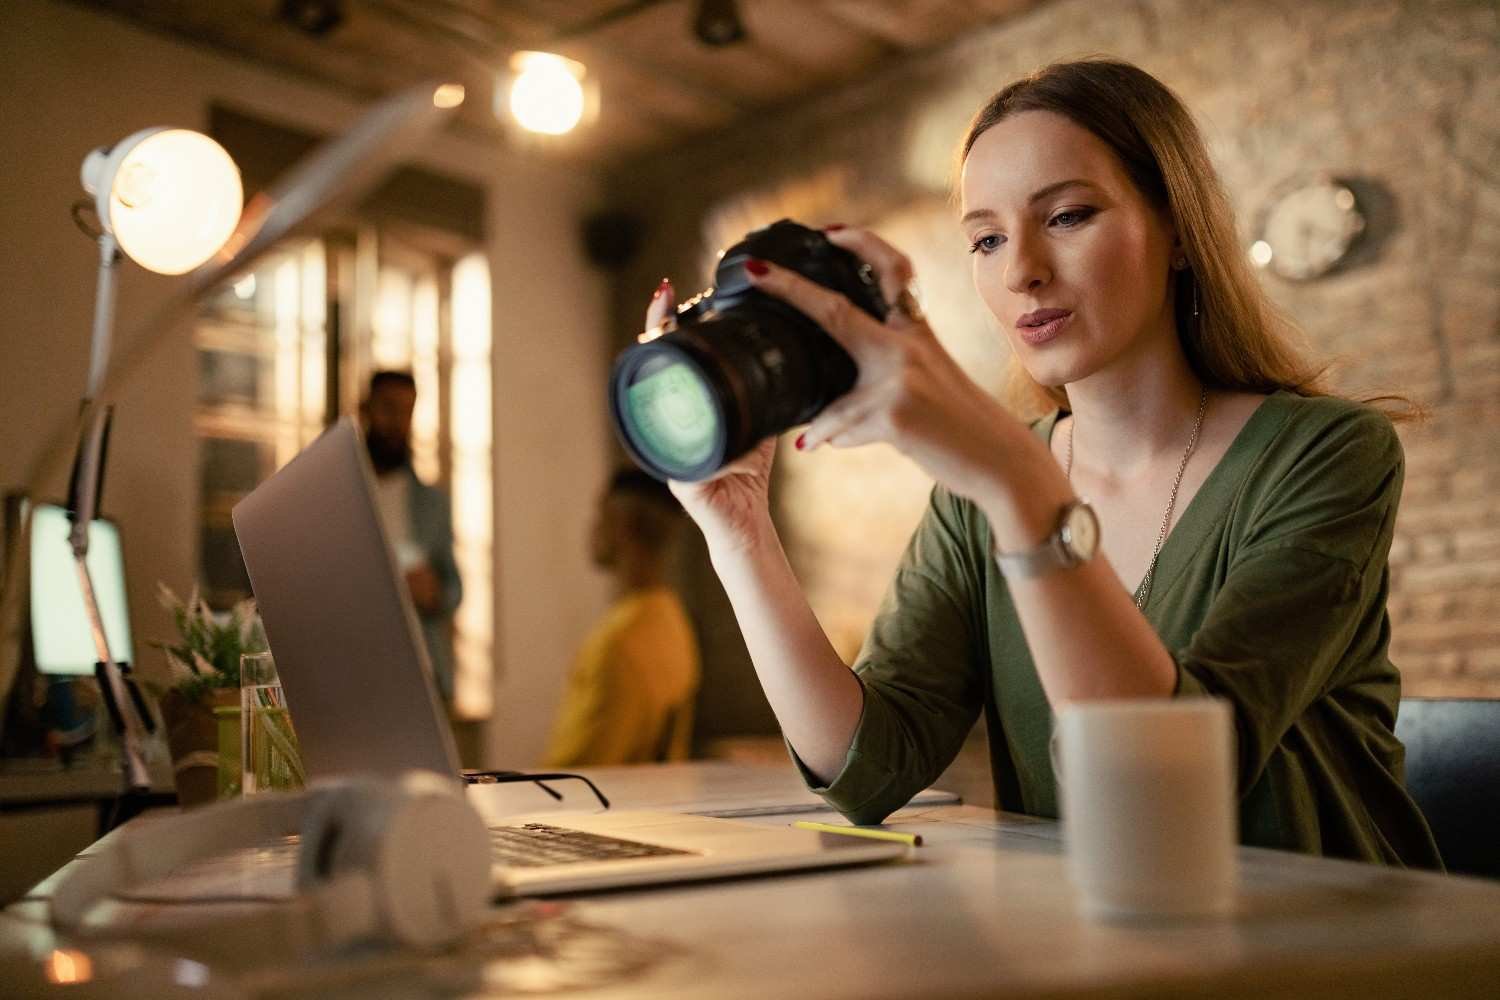
My Editing Workflow for Clean Professional Results
Editing is where every lighting technique finally comes together. I usually begin with exposure balancing, lens correction, and white balance adjustments before moving into advanced blending work.
Then I refine:
- Highlight recovery
- Shadow depth
- Color accuracy
- Vertical alignment
- Window exposure
- Ceiling brightness
- Contrast control
The goal is always realism. Buyers want homes that look polished but believable. Over-edited listing photos may attract clicks initially, but they often disappoint buyers during in-person showings.
That’s why I focus on keeping real estate photography lighting natural, balanced, and consistent throughout every image set.
Frequently Asked Questions (FAQs)
1. What is the best lighting method for real estate photography?
Most professionals prefer flambient blending because it combines natural ambient light with bounced flash for realistic and balanced interiors.
2. Should I use flash or HDR for property photography?
HDR works well for faster shoots, while flash and flambient methods usually create cleaner professional results in luxury listings.
3. What color temperature works best indoors?
Many photographers use Auto White Balance or 5600K flash sync to simplify mixed-light color correction.
4. What flash is best for beginner real estate photographers?
The Godox V1 is one of the most beginner-friendly flashes because it creates soft bounced lighting and performs well in residential spaces.
5. Why is real estate photography lighting important for listings?
Proper lighting makes rooms feel larger, brighter, cleaner, and more inviting, which helps attract more online attention from buyers.
Final Frame
Learning how to control lighting completely transformed the quality of my real estate photography. Once I understood natural light direction, bounced flash, HDR blending, flambient editing, color consistency, and effective real estate photography angles, my images immediately started looking more polished and market-ready.
The biggest lesson I’ve learned is that lighting should enhance the home naturally rather than overpower it. Buyers want listing photos that feel clean, bright, spacious, and believable. When lighting looks realistic and balanced, the entire property instantly feels more valuable online.


