
My indoor photos used to look flat, yellow, and blurry no matter how expensive the camera was. The problem was never the camera. It was the lighting setup, room positioning, and camera settings.
Once I learned how to control light indoors, everything changed. Portraits looked sharper. Product photos looked cleaner. Even small apartments started feeling like mini studios. A proper indoor photography setup does not require a giant budget. It requires smart light placement, intentional backgrounds, and settings that match the environment.
Most top-ranking blogs repeat the same generic advice about “getting more light.” What actually helped me was understanding how different indoor setups work for portraits, products, and content creation. That is the difference this guide focuses on.
Why Indoor Photography Often Looks Bad
Indoor photography becomes difficult because artificial lighting is unpredictable. Ceiling lights create harsh downward shadows. Lamps produce mixed color temperatures. Small rooms bounce light unevenly across walls.
I learned this the hard way during a portrait shoot in my living room. The photos looked orange near one wall and blue near another. Once I switched off overhead lights and used one controlled light source, the photos immediately looked cleaner.
Good indoor photography depends on controlling light direction instead of increasing brightness randomly.
Best Natural Light Indoor Photography Setup
Natural light remains one of the easiest and cheapest ways to improve indoor photos.
Window Positioning Matters More Than Expensive Gear
Placing the subject directly in front of a window often creates flat-looking photos. I usually position the subject at a 45-degree angle beside the window instead.
This creates soft shadows that add depth to the face and make portraits look more professional.
North-facing windows usually produce the softest and most consistent light throughout the day.
Use Diffusion and Reflectors for Softer Results
Harsh sunlight ruins skin texture and creates blown highlights. Sheer curtains help diffuse the light naturally.
A white foam board on the opposite side works as a reflector and fills dark shadows without needing a second light source.
This simple setup dramatically improved my early indoor portrait sessions.
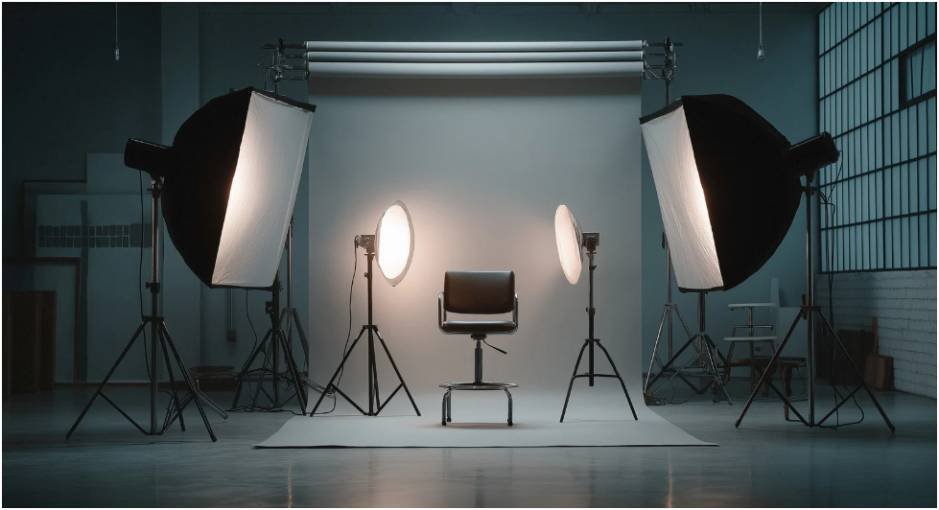
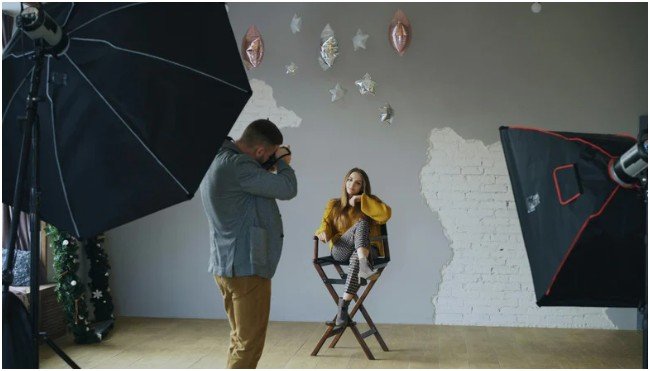
Professional Three-Point Lighting Setup
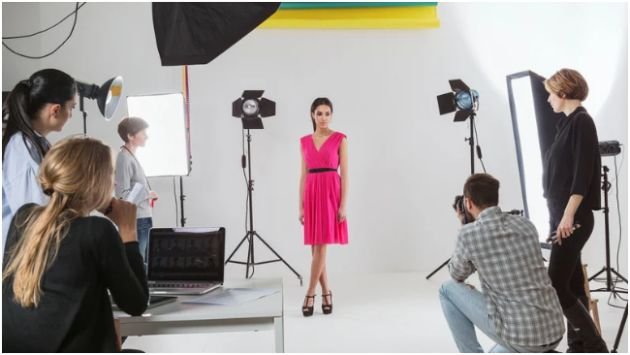
The classic three-point setup works for portraits, YouTube videos, interviews, and branding photography.
| Light Type | Purpose | Placement |
| Key Light | Main light source | 45° from subject |
| Fill Light | Reduces shadows | Opposite side |
| Rim Light | Separates subject from background | Behind subject |
Key Light
The key light controls the overall mood of the image. Softboxes work best because they soften facial shadows while maintaining detail.
Fill Light
The fill light prevents shadows from becoming too dramatic. Sometimes I use a reflector instead of another light to save space in smaller rooms.
Rim Light
A rim light creates separation between the subject and background. This small detail instantly makes indoor photos appear more cinematic.
Indoor Portrait Photography Setup

Portrait photography indoors requires flattering light and careful lens selection.
Best Lighting Patterns for Portraits
Rembrandt lighting creates a triangle of light on the cheek and works beautifully for dramatic portraits.
Butterfly lighting places the light above and in front of the face, creating soft glamorous shadows under the nose.
Loop lighting is easier for beginners because it creates softer facial shadows while keeping the setup simple.
I noticed loop lighting works especially well in apartments with limited shooting space.
If you want to improve facial posing and expressions further, these detailed portrait photography tips can help refine your indoor sessions naturally.
Best Lens and Camera Settings for Portraits
An 85mm lens creates the most flattering headshots because it compresses facial features naturally.
A 50mm lens works better in tighter rooms where there is less space to step backward.
For indoor portraits, I usually use:
| Setting | Recommended Range |
| Aperture | f/1.8 to f/2.8 |
| Shutter Speed | 1/125s or faster |
| ISO | 800–3200 |
Product Photography Setup Indoors
Product photography requires consistency, accurate colors, and shadow control.
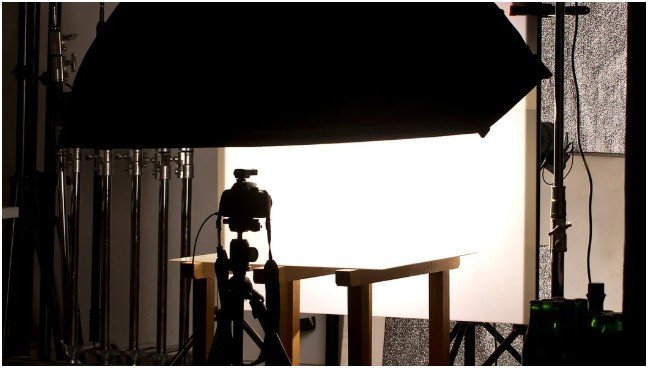
Light Box Setup for Small Products
Light boxes create evenly diffused lighting from every direction.
They work extremely well for jewelry, cosmetics, watches, and electronics because they minimize reflections and harsh shadows.
The first time I used a light box, editing time dropped by almost half because the lighting looked balanced straight from the camera.
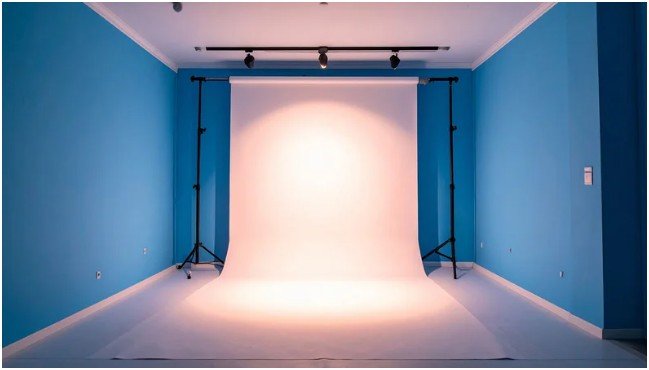
Sweep Background Setup for Larger Products
A sweep setup uses curved poster board or PVC backdrops to remove the visible horizon line behind the product.
This creates the clean floating look commonly used in eCommerce photography.
I usually combine one softbox with a white reflector board for smoother highlights and softer shadows.
Reflective acrylic sheets also create premium-looking reflections under products like perfume bottles and watches.
Best Indoor Photography Gear for Beginners
You do not need a commercial studio to create strong indoor images.
A beginner-friendly setup can include:
- Softbox or LED panel
- Tripod
- White reflector board
- Neutral backdrop
- 50mm lens
- Window light
Most improvements come from light positioning rather than expensive cameras.
Camera Settings for Indoor Photography
Indoor photography settings depend heavily on available light.
Use Lower ISO Whenever Possible
High ISO introduces grain and reduces image quality. I keep ISO between 100 and 800 when lighting allows it.
Shoot in Manual Mode for Consistency
Manual mode keeps exposure consistent between shots. This matters especially for product photography and branding sessions.
Use Wider Apertures Carefully
Wide apertures create beautiful background blur, but extremely shallow depth of field can accidentally soften the eyes or product edges.
For portraits, f/1.8 works beautifully. For products, f/8 to f/11 usually performs better.
Common Indoor Photography Mistakes
One major mistake is mixing daylight with warm room lighting. This creates strange skin tones that become difficult to fix during editing.
Another problem is placing subjects too close to the wall, which creates distracting shadows behind them.
Over-lighting is also common. Adding too many lights often makes indoor photos look artificial instead of polished.
The biggest improvement I ever made was simplifying the setup instead of adding more equipment.
FAQs
1. What is the best lighting for indoor photography?
Soft natural window light or diffused softbox lighting usually produces the best results.
2. What lens works best for indoor photography?
A 50mm lens works well in small spaces, while an 85mm lens is excellent for portraits.
3. Why do indoor photos look grainy?
Indoor photos become grainy when ISO is raised too high in low-light environments.
4. Do I need a studio for indoor photography?
No. A window, reflector, and simple backdrop can create professional-looking images.
5. What aperture is best for indoor portraits?
Most indoor portraits look best between f/1.8 and f/2.8.
Your Ceiling Light Is Probably Sabotaging Your Photos
The funniest part about improving my indoor photography was realizing I needed fewer lights, not more. Once I stopped relying on harsh room lighting and started shaping one controlled light source, the quality difference became obvious immediately.
Before buying another expensive lens, test your light positioning first. Move closer to a window. Add a reflector. Pull the subject away from the wall. Small adjustments usually create the biggest upgrades.


